

Tenancy
Set tenancy on a datasource
Tell Databrain which table identifies your customers, so embedded queries return each customer's own rows.
Before you start
- You are an Admin or a Developer, or your role has the datasource Edit Tenancy Level permission. Editors and Viewers do not have it.
- The datasource is connected and synced. The customer table must be in its schema.
- You know your tenancy model.
Steps
-
Go to Data Studio > Datasources.
-
In the datasource’s row, select the shield icon (Add tenancy or Edit tenancy). You can also open the datasource and select the Tenancy tab.

The row actions show when you point at a datasource. The shield is Add tenancy. -
Under How is customer data separated?, select Table, Database or Multi-database.
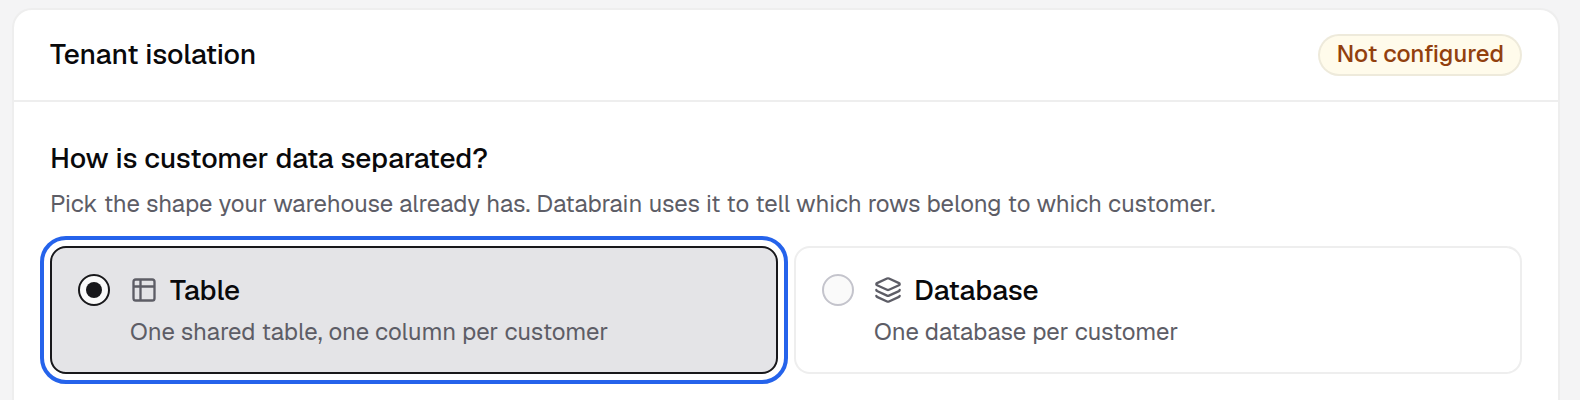
Pick the shape your warehouse already has. -
For Table, fill in Which table identifies a customer?:
- Customer table: the table with one row per customer, for example
public.customers. - Primary key column: the column that identifies a customer, for example
id. - Primary key type:
numberorstring. Databrain reads it from the warehouse. Change it only if it is wrong. - Customer name column: the column with the customer’s name, for example
company_name.
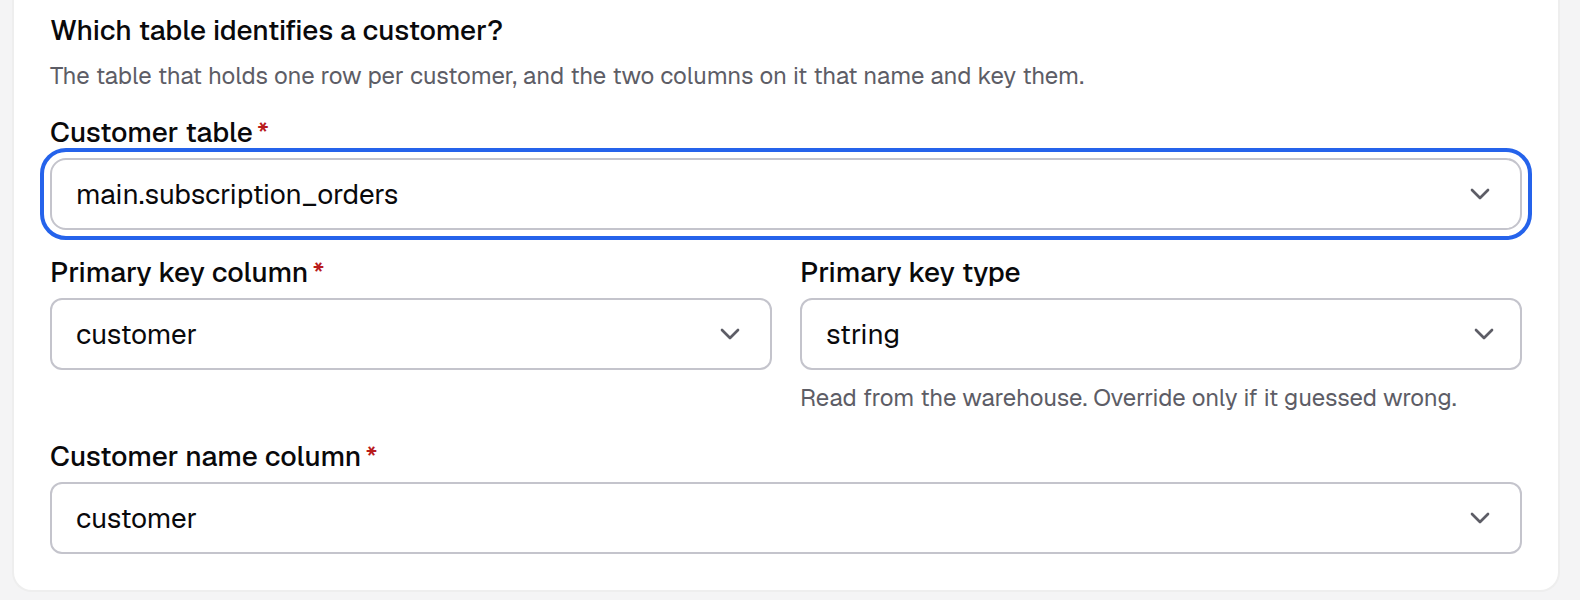
Pick the table that has one row per customer, then its key and name columns. - Customer table: the table with one row per customer, for example
-
For Database or Multi-database, check the list under Databases and schemas we can see. Each one is treated as a separate customer.
-
Select Save tenancy.
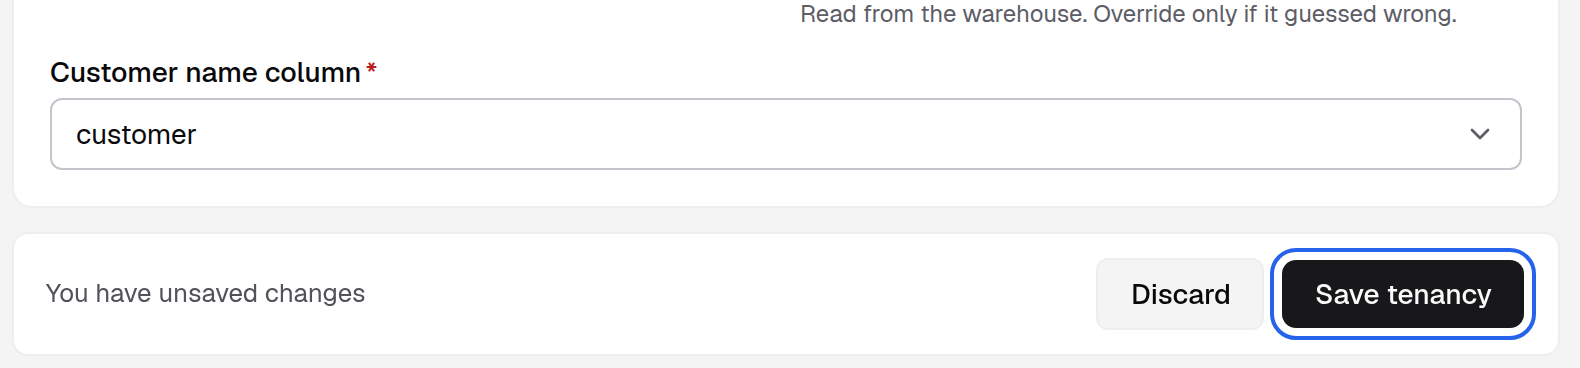
Save tenancy is in the bar under the form. Discard throws the changes away. -
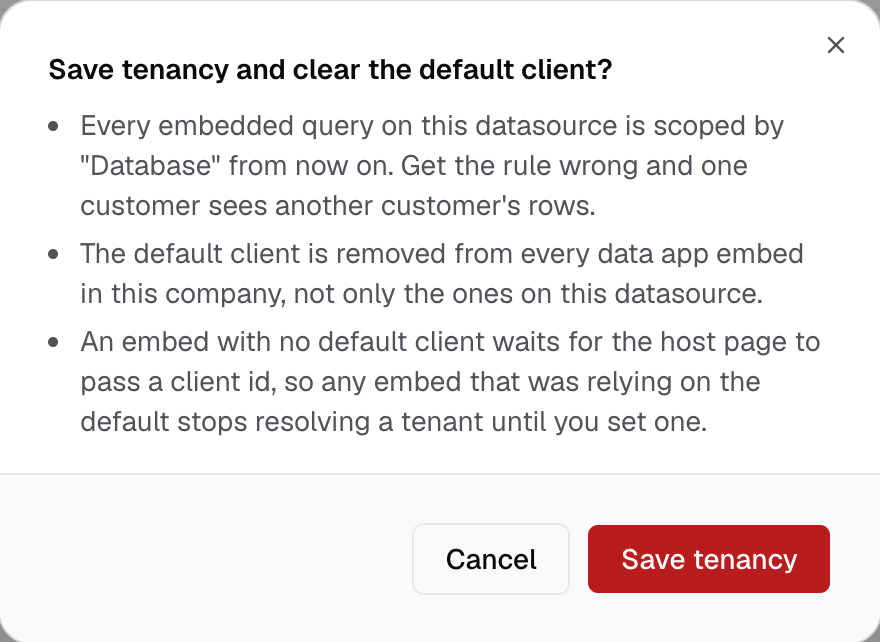
Read the dialog and select Save tenancy again.
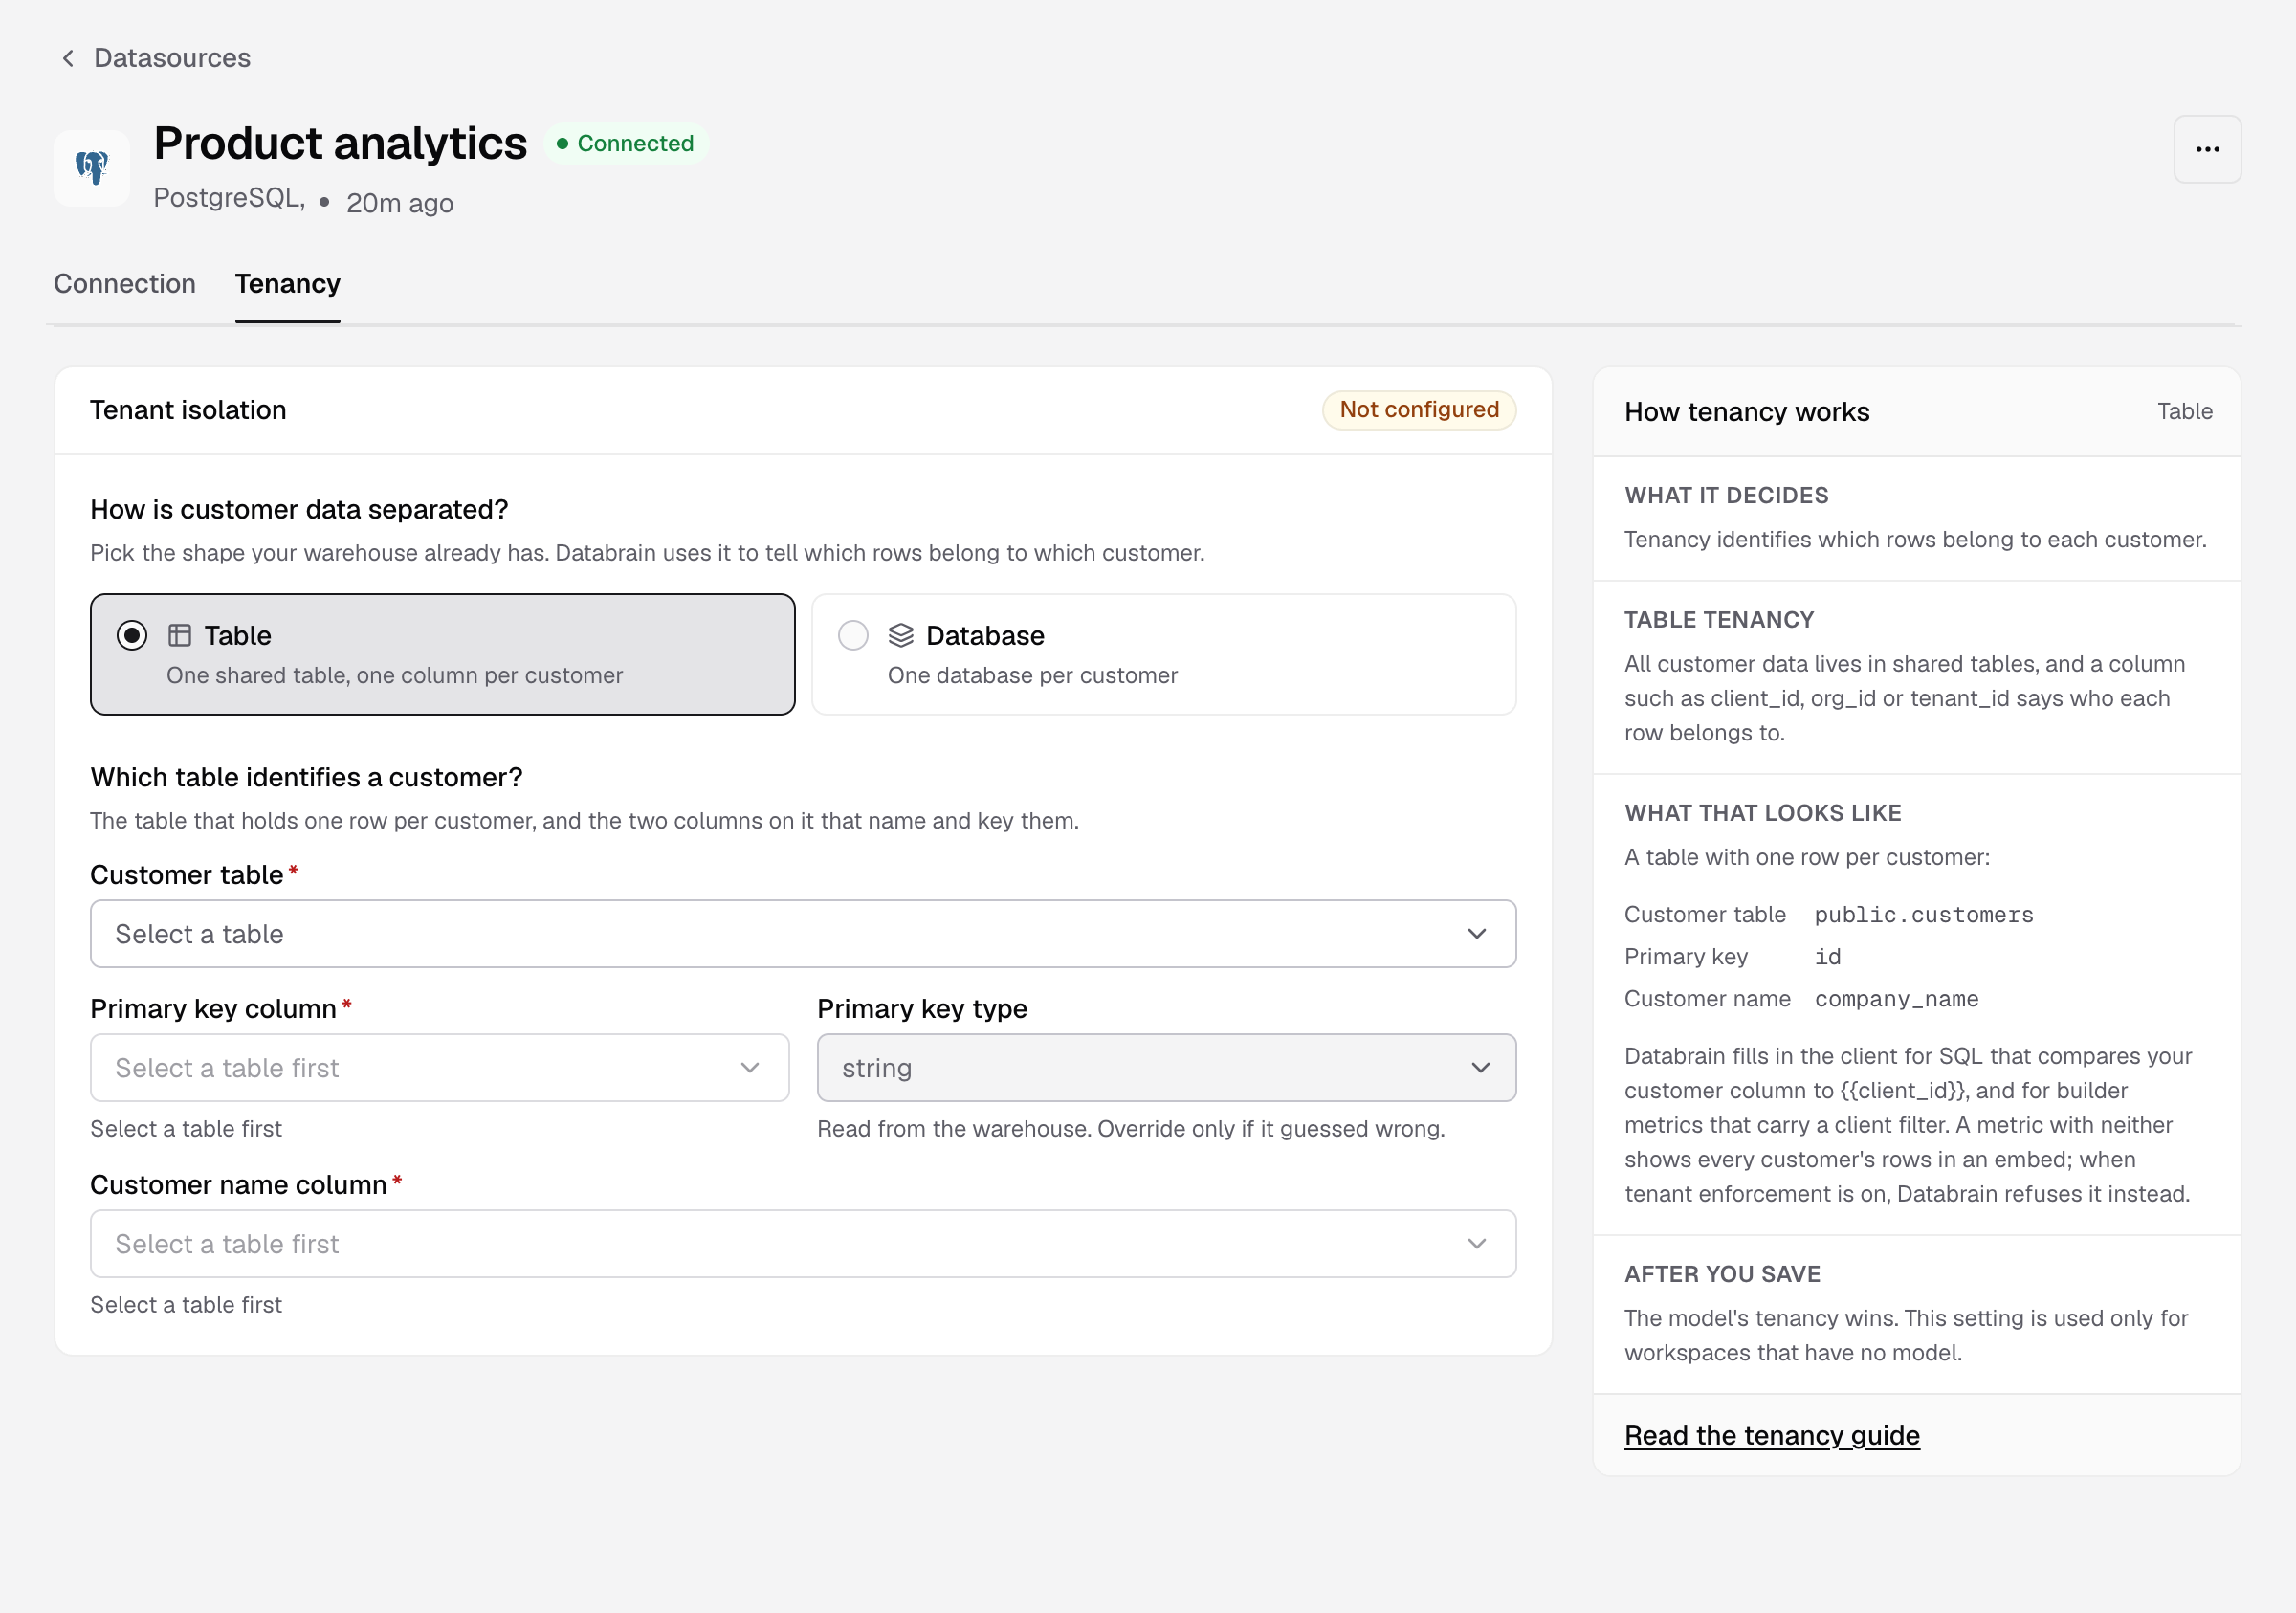
You see Datasource tenancy settings saved, and the Tenant isolation badge changes from Not configured to Configured. The Tenancy column on the Datasources list shows the level.
Saving tenancy removes the default client from every data app embed in your company, not only the ones on this datasource. An embed with no default client waits for your page to pass a client ID. Set a client on each embed that relied on the default.
With Database, Databrain lists the databases and schemas it found on the connection:
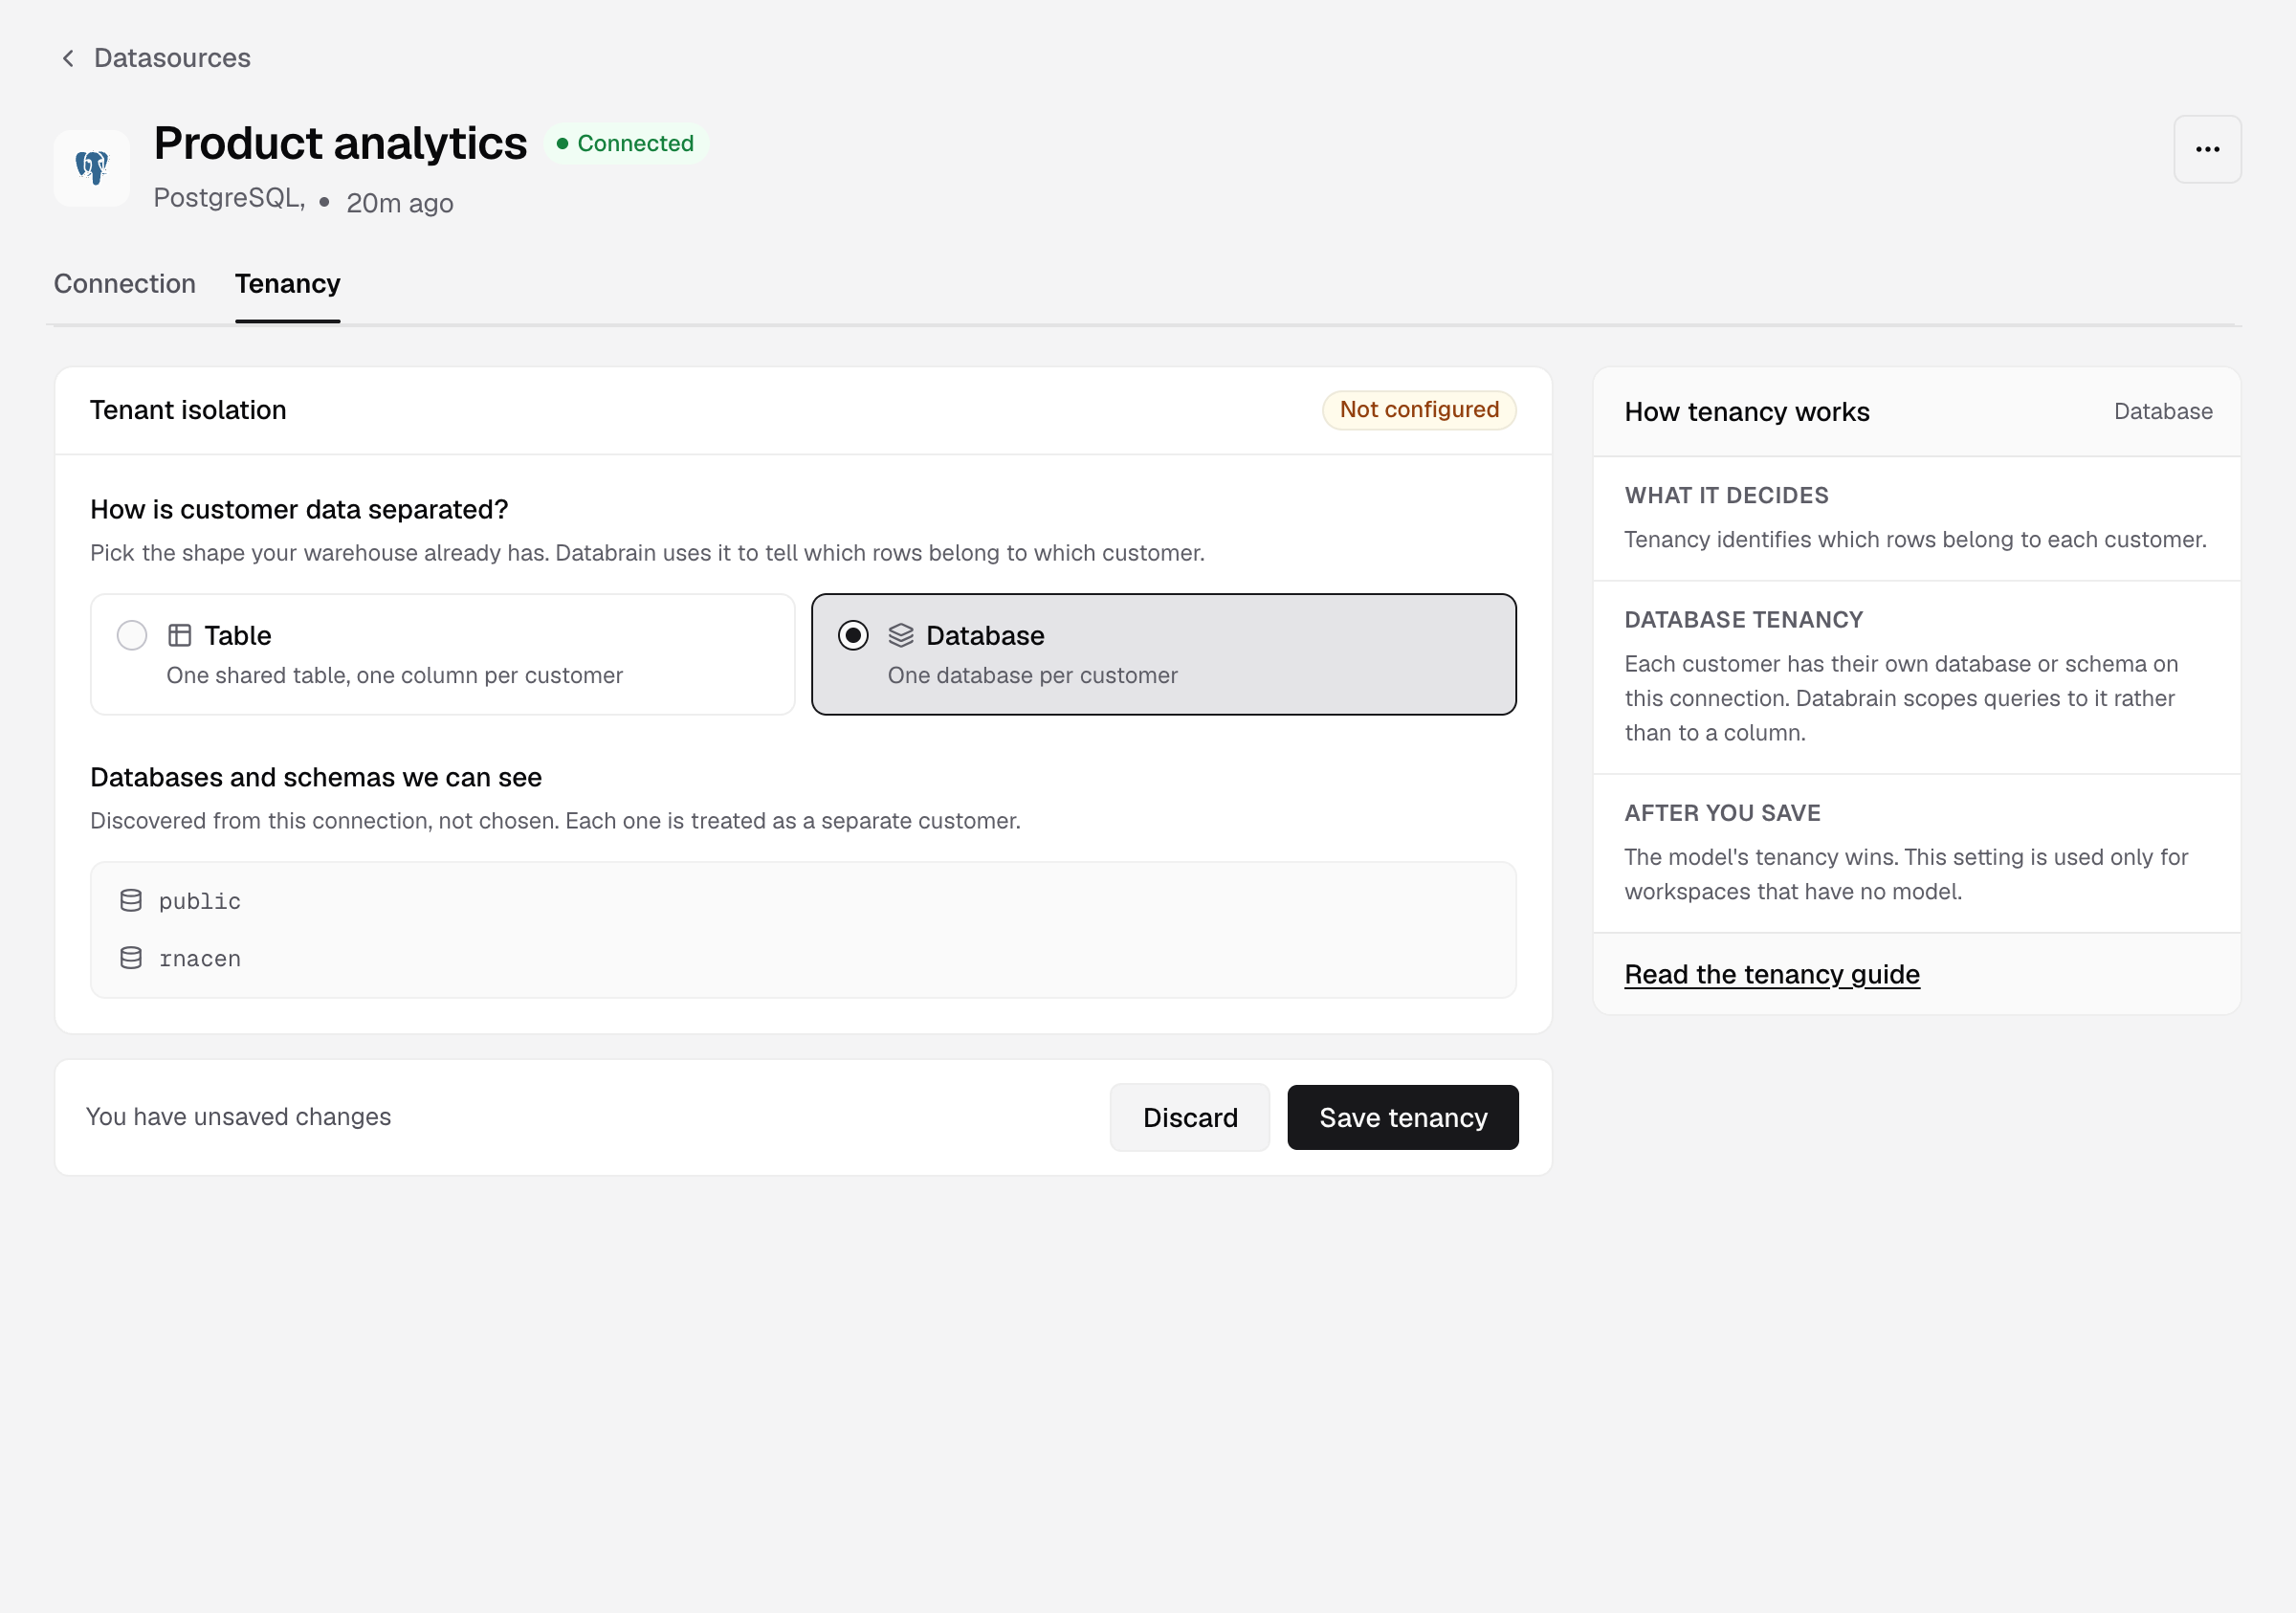
A datamart’s own tenancy wins over this setting. Next, set tenancy on the datamart.
If something goes wrong
- The Tenancy tab is greyed out. Your role cannot change tenant isolation. Ask an Admin.
- Pick a customer table, a primary key column and a customer name column before saving. Fill in all three fields.
- No tables in this datasource’s schema cache. Sync the datasource, then come back.
- Nothing discovered yet. Databrain has not read any databases from this connection. Sync it, then come back.