

Organization
Manage people and roles
Invite people, choose what they can do in each workspace, and make custom roles.
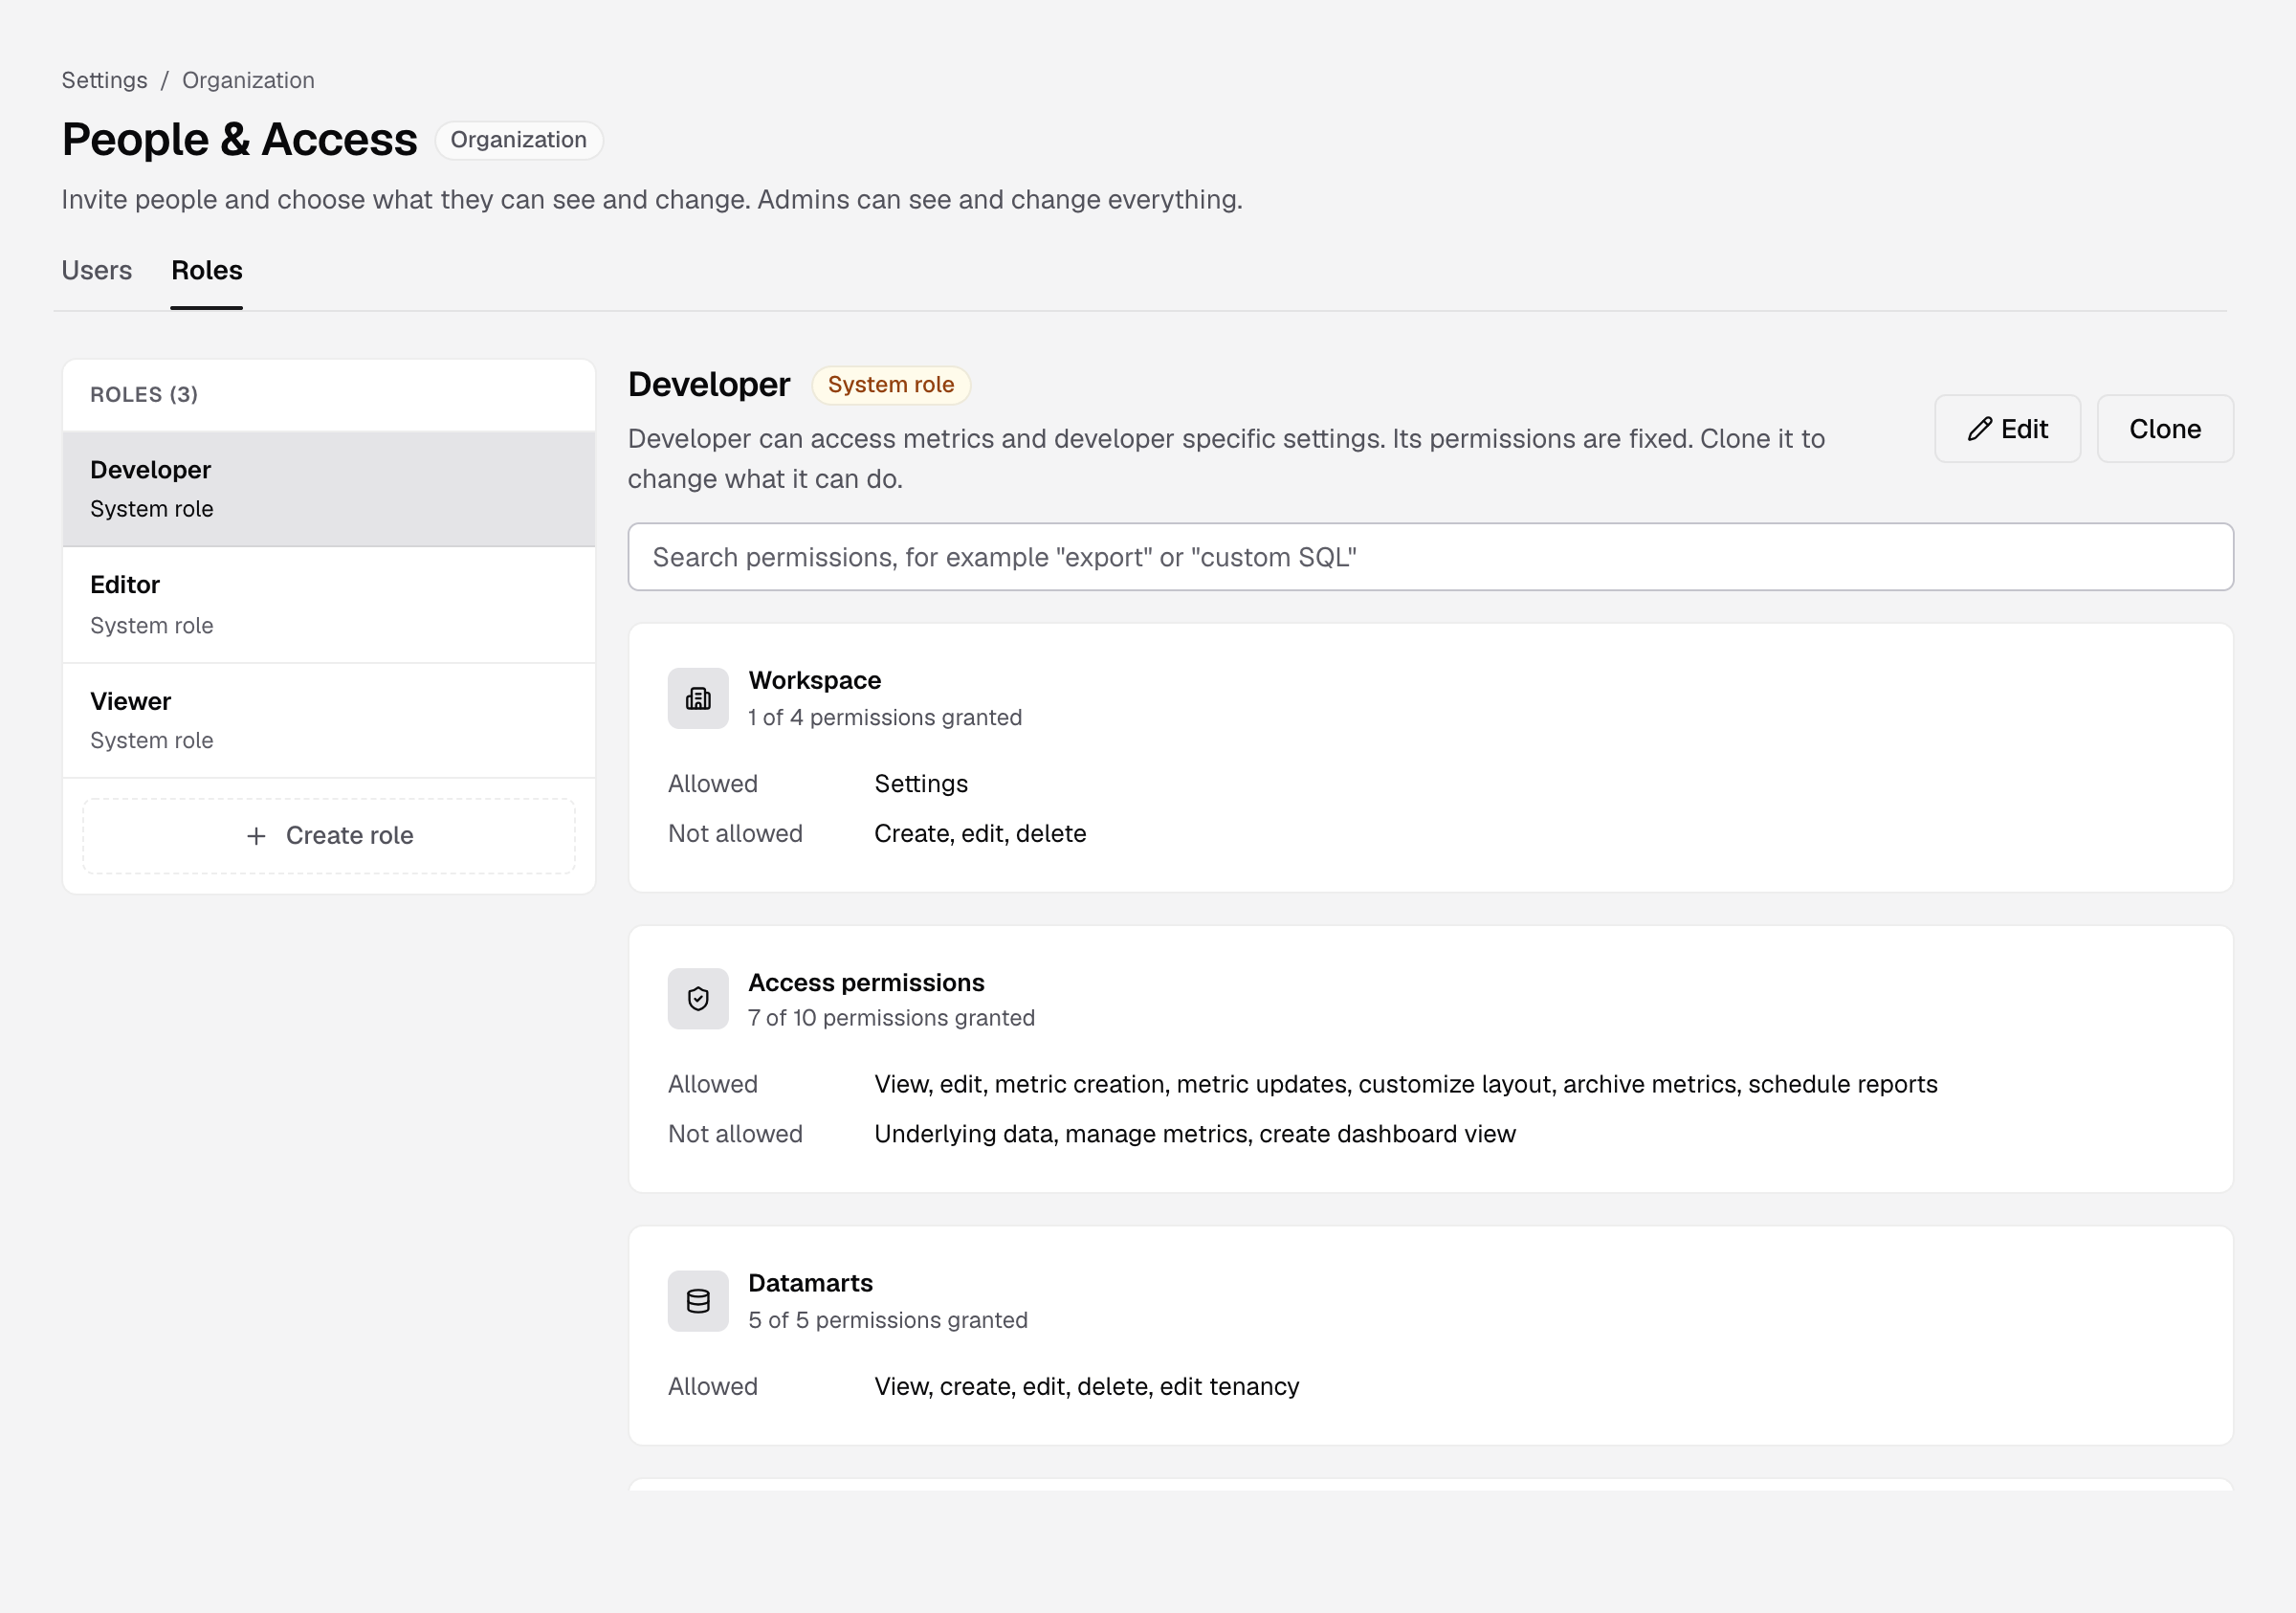
Settings > People & Access has two tabs: Users for people and invitations, and Roles for what each role can do.
Before you start
- To invite or edit people, you are an Admin, or your role has the Users permissions.
- To create or change roles, you are an Admin, or your role has the Roles permissions. Custom roles need the Business plan or higher.
Roles
| Role | What it can do |
|---|---|
| Admin | Everything: every workspace and every setting. Turn on Organization admin for a person. |
| Editor | Create and update metrics and dashboards. |
| Developer | Access metrics and developer settings, such as tokens, data apps and theming. |
| Viewer | View dashboards. |
Editor, Developer and Viewer are system roles. You can rename them, but not change their permissions. To change permissions, select Clone and edit the copy.
Viewers are free. Builders, the people who create and edit, count toward your plan’s seats. See Plans and billing.
Invite a person
- Go to Settings > People & Access and select Invite user.
- Enter First name, Last name and a work Email.
- Choose the access:
- Turn on Organization admin for full access, or
- Under Roles, pick a Role and set Apply on to All Workspaces, Specific Workspaces or All Workspaces Except. Select Add role to give a different role in other workspaces.
- Select Invite.
You see Invite sent. The person appears on the Pending tab until they accept. The invite link works for 24 hours. Select Resend invitation to send a new link that works for 48 hours.
You can also select Invite in a workspace header. It opens the same form.
Change or remove a person
- Change access: on the Accepted tab, open the row menu and select Edit user.
- Remove: select Remove user. The person loses access at once. Their private workspaces, with their dashboards and scheduled reports, are deleted. Shared work stays.
- Lost phone: an Admin can select Reset authenticator app for a person who uses one.
You cannot remove or demote the only Admin. Make someone else an Admin first.
Make a custom role
- Go to Settings > People & Access and select the Roles tab.
- Select Create role, enter a Name and Description, and save.
- On the permissions grid, choose what the role can do. Search for a permission, for example
exportorcustom SQL.
Give the role to people when you invite or edit them.
If something goes wrong
- Use a work email address. Free email, like Gmail, is not accepted. Invite the person with their company email.
- Invite link expired. Select Resend invitation on the Pending tab.
- This role grants no permissions yet. A person with only this role can sign in and see nothing else. Add permissions on the Roles tab.