

Organization
Invite a user
Add a teammate to Databrain and choose what they can see and change.
Before you start
- You are an Admin, or your role has the Invite permission for users.
- You know the person’s work email address.
Steps
-
On Home, open the workspace and select Invite next to its name. You can also go to Settings > People & Access and select Invite user.
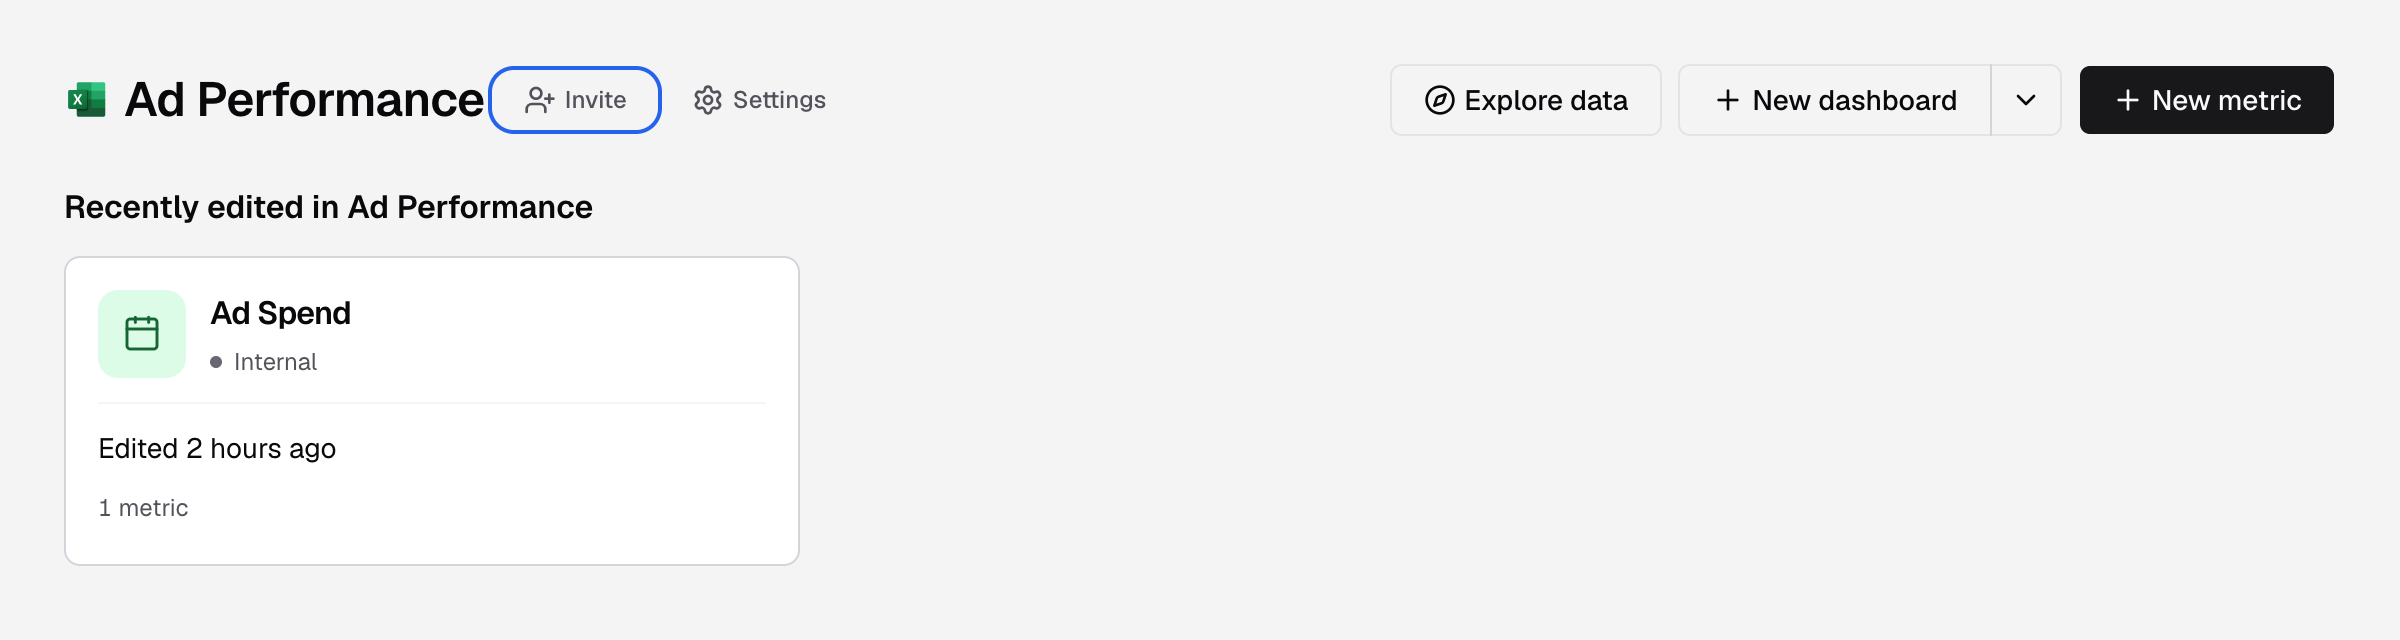
Invite is next to the workspace name on Home. -
Enter the First name, Last name and Email, for example
Priya,Ramanandpriya.raman@northwind.com.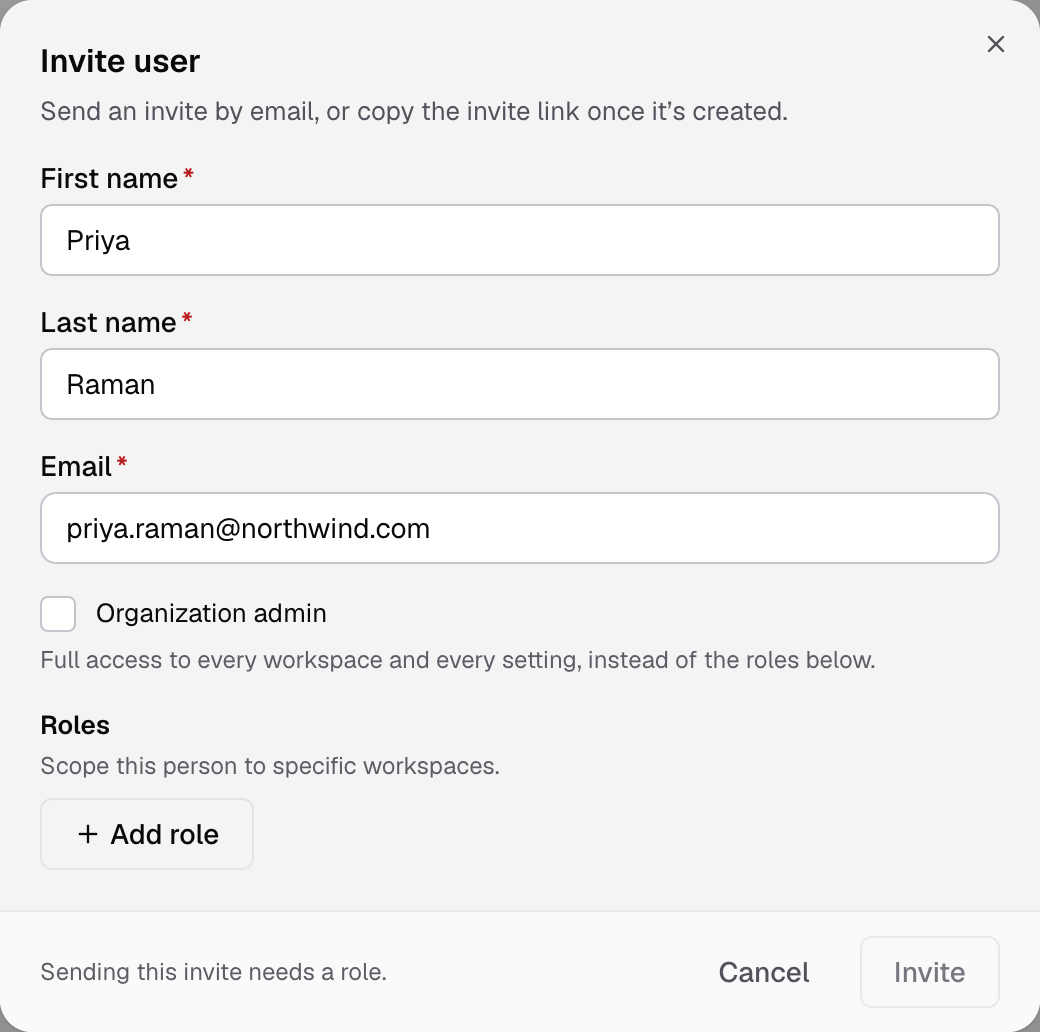
All three fields are required. -
Select Add role. To give full access to every workspace and setting instead, check Organization admin and skip to step 6.
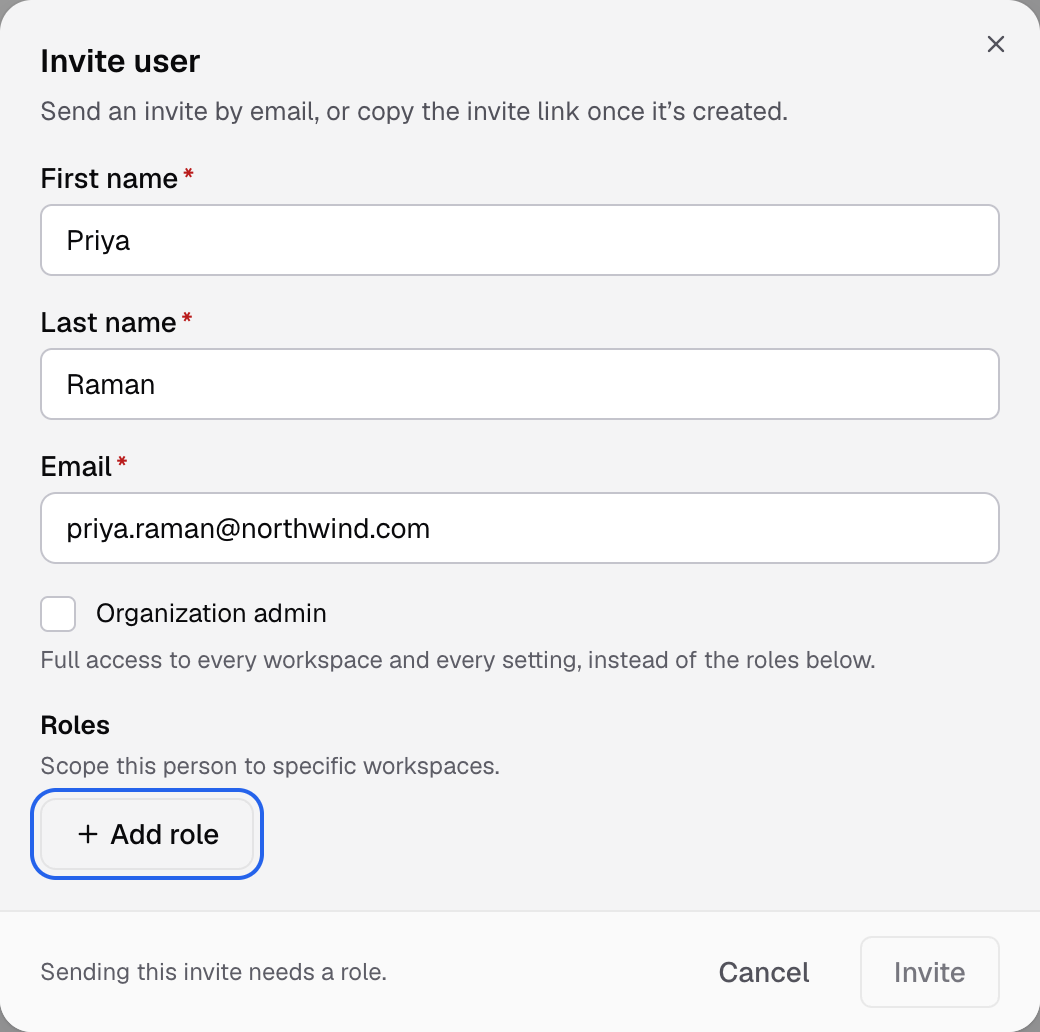
Add role adds a role row. Organization admin replaces all role rows. -
In Role, select Developer, Editor or Viewer, or a role your company made. The form lists what the role can do.
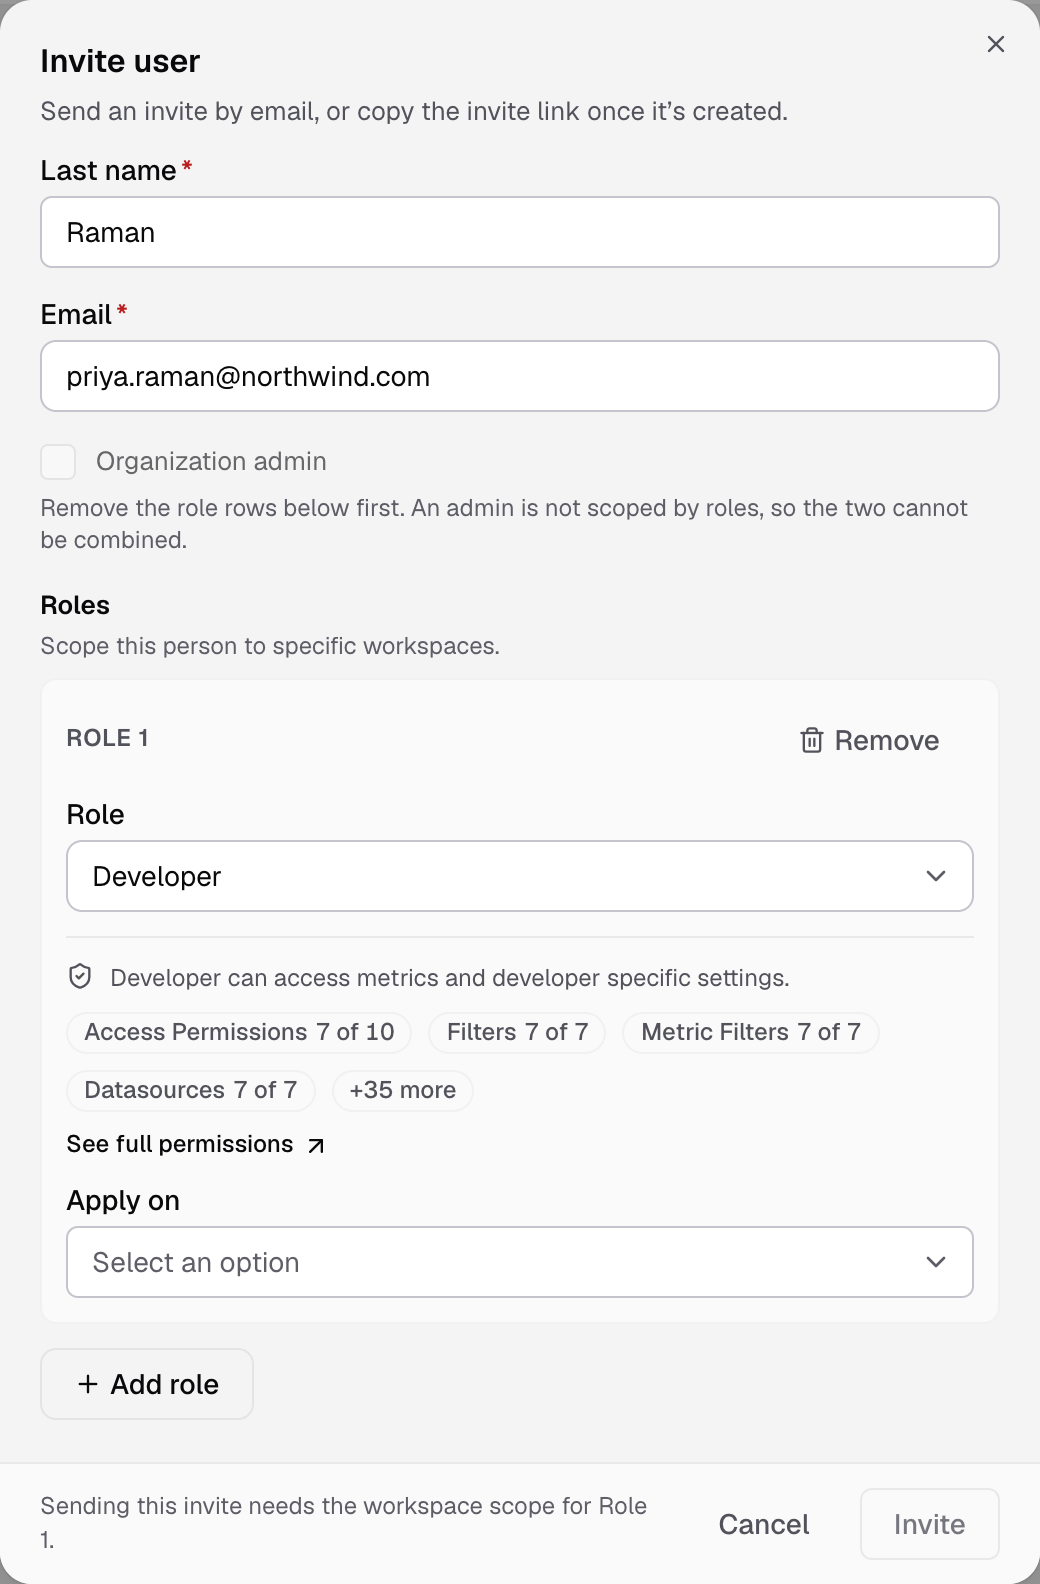
The role's permissions show under the Role field. See full permissions opens the role. -
In Apply on, select All Workspaces, Specific Workspaces or All Workspaces Except. For the last two, pick the workspaces in Workspaces.
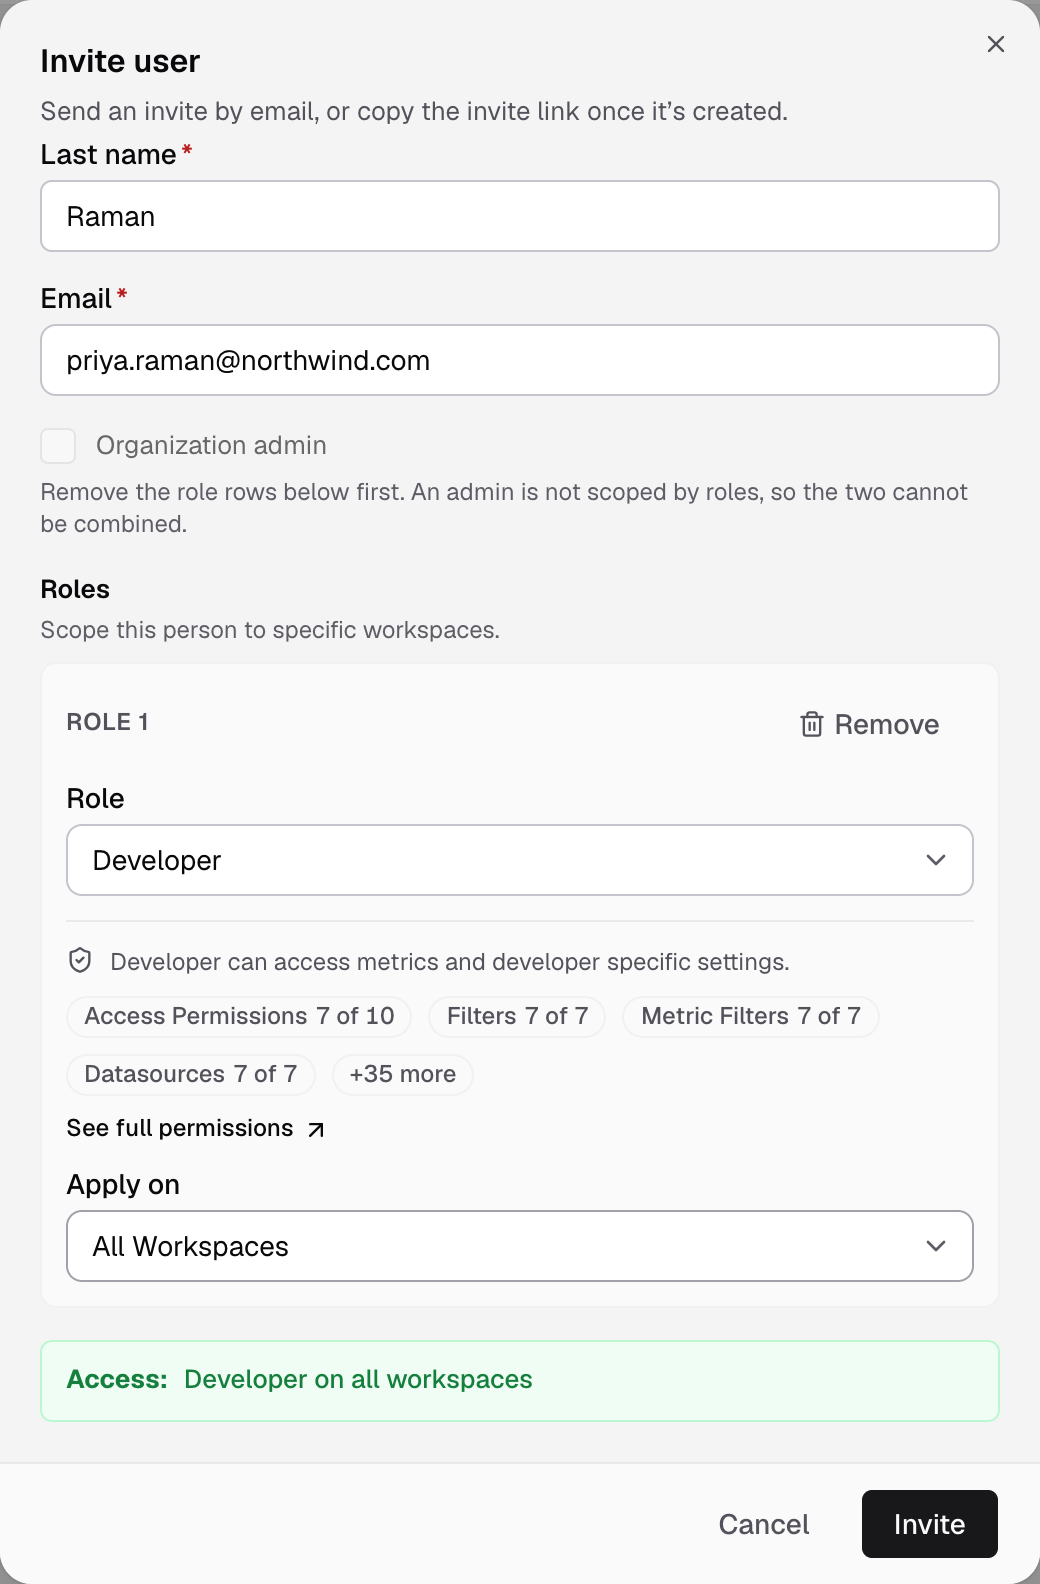
Access sums up what the person gets. -
Select Invite.
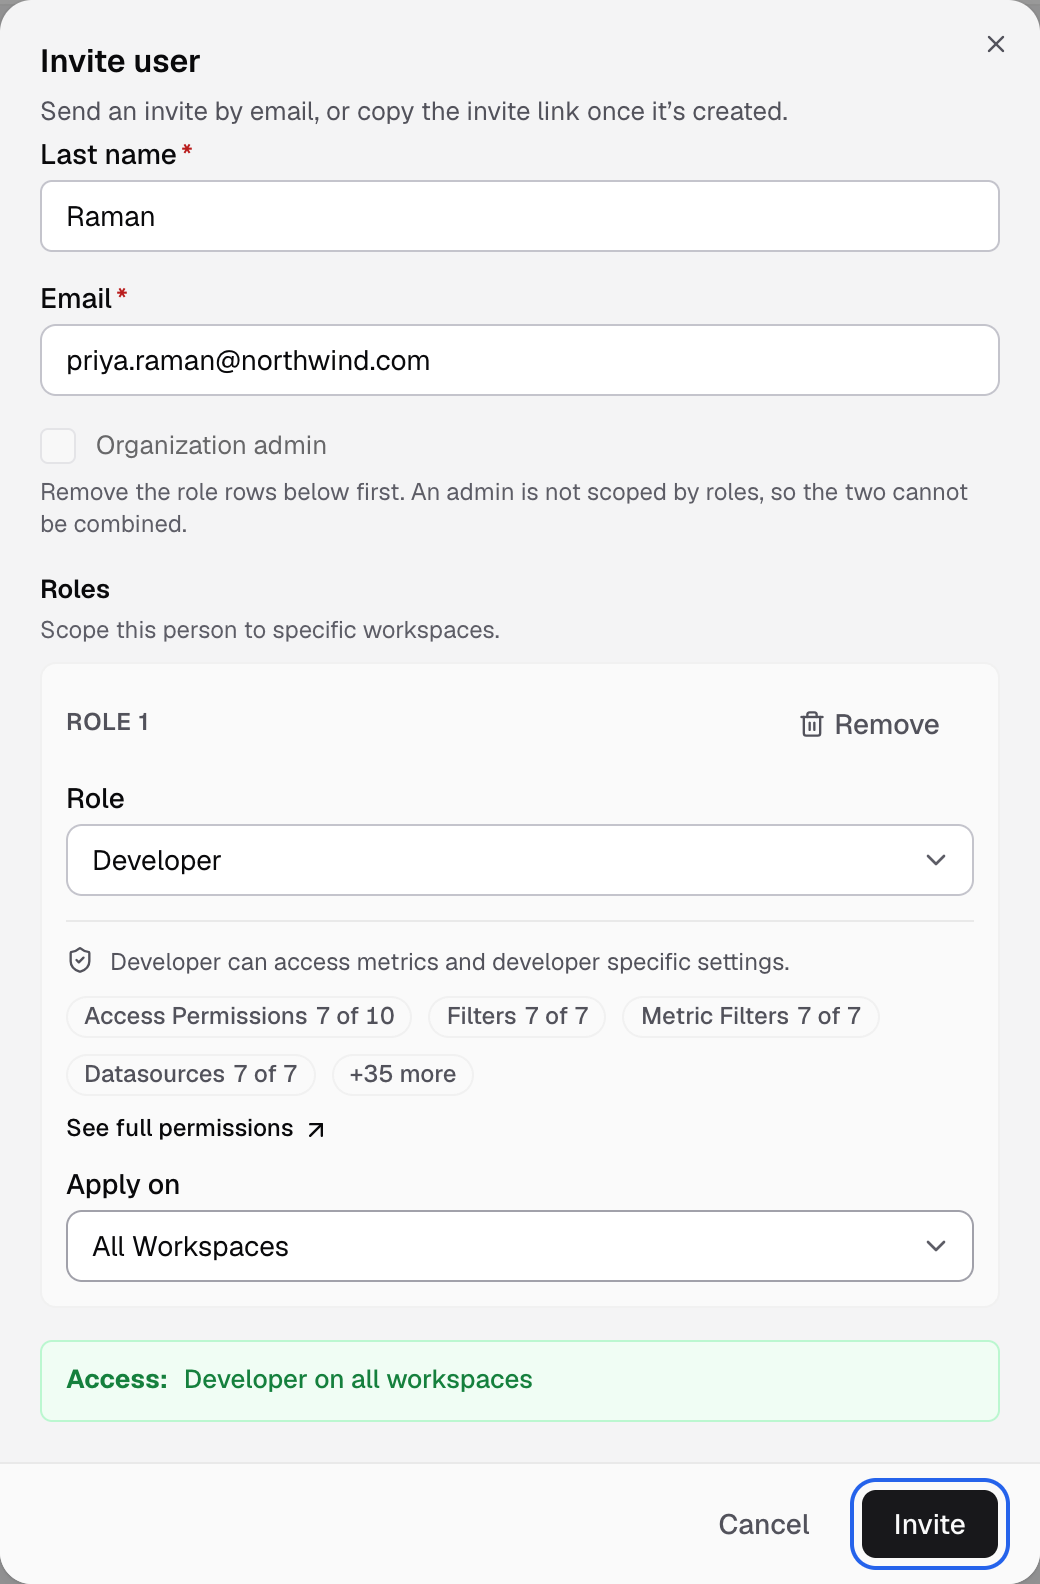
Invite stays greyed out until every required field is filled.
You see Invitation sent. The person gets an email with an Accept Invitation button. The link works for 24 hours. A resent link works for 48 hours.
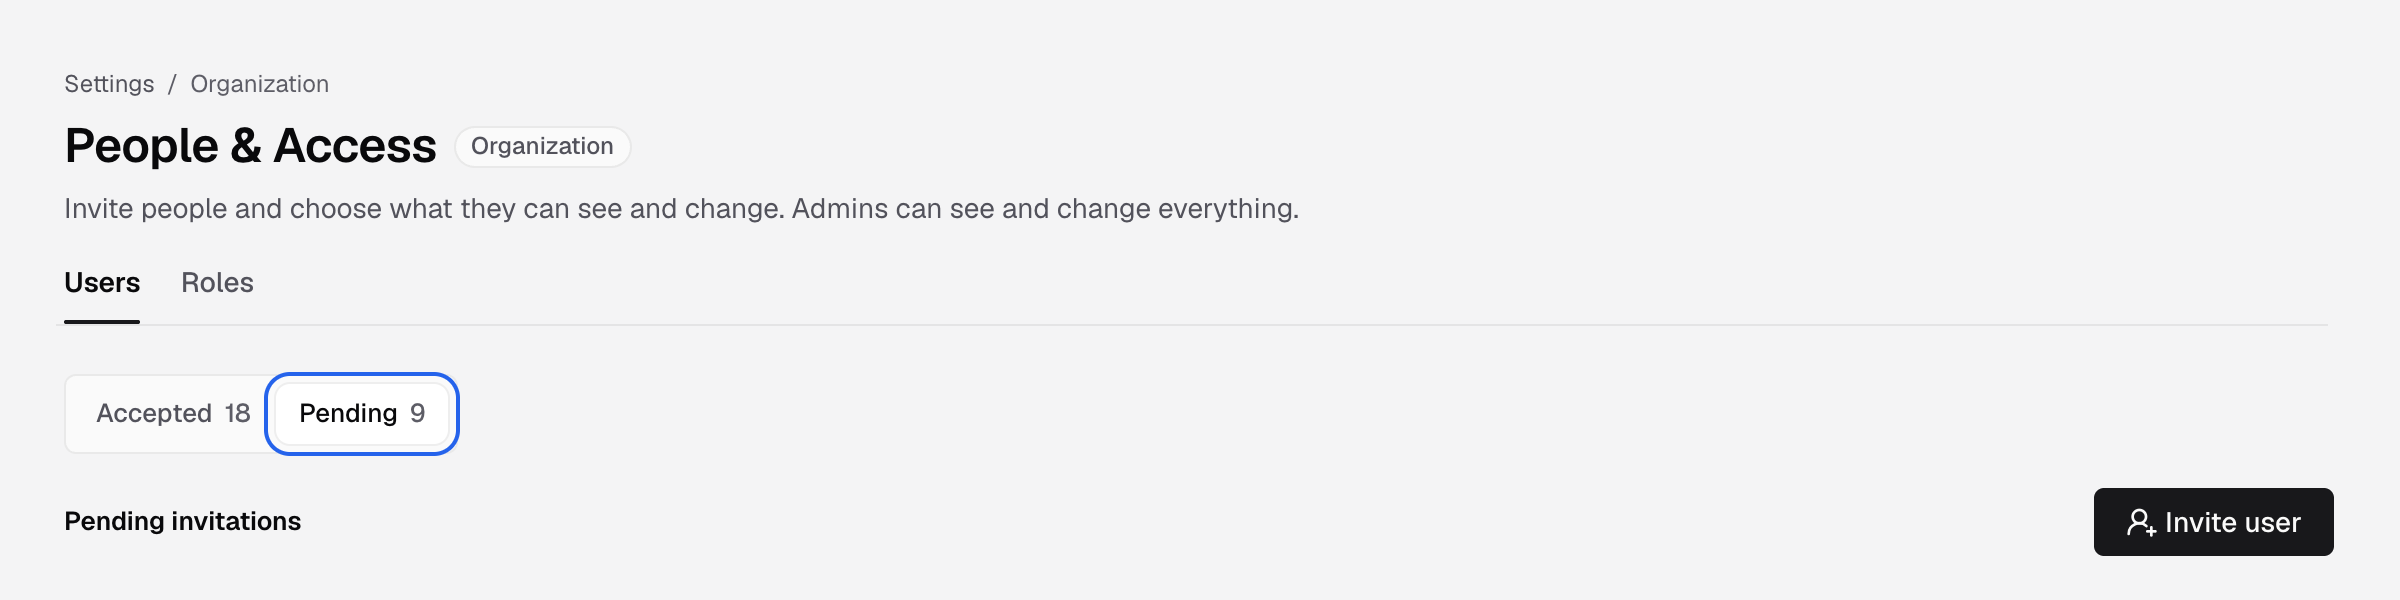
To see invites that are not accepted yet, select View pending invites in that message, or go to Settings > People & Access and select Pending.
Roles
Each role applies to the workspaces you pick in Apply on. Select Add role again to give a different role in other workspaces.
| Role | In short |
|---|---|
| Developer | Builds the data side: datasources, datamarts, metrics, data apps, API tokens and themes. |
| Editor | Creates and updates metrics and dashboards. |
| Viewer | Views dashboards. |
An Organization admin has full access to every workspace and setting and is not scoped by roles. Remove the role rows first to make someone an admin.
To see exactly what each role grants, or to make your own role, go to Settings > People & Access and select Roles.
If something goes wrong
- Invite stays greyed out. The line at the bottom of the form names what is missing, for example Sending this invite needs a role for Role 1.
- user already exists. That email already has an account. Find the person under Settings > People & Access.
- The link expired. On Pending, open the row menu and select Resend invitation.
- No email arrives. Email is not set up for your install. On Pending, select Copy invite link and send the link yourself.