

Dashboards
Edit a dashboard
Rename a dashboard, change its icon, move it to another workspace, ask Bryn to arrange it, or delete it.
Before you start
- To rename or change the icon, you need the dashboard Edit permission. Admins and Editors have it.
- To move or delete a dashboard, you need an Admin role, or a custom role with those permissions.
- A dashboard that a client made in an embed is locked. You cannot rename, move or change its layout.
Rename a dashboard or change its ID
-
Go to Home and pick your workspace.
-
On the All dashboards tab, open the dashboard’s ... menu.
-
Select Edit details.
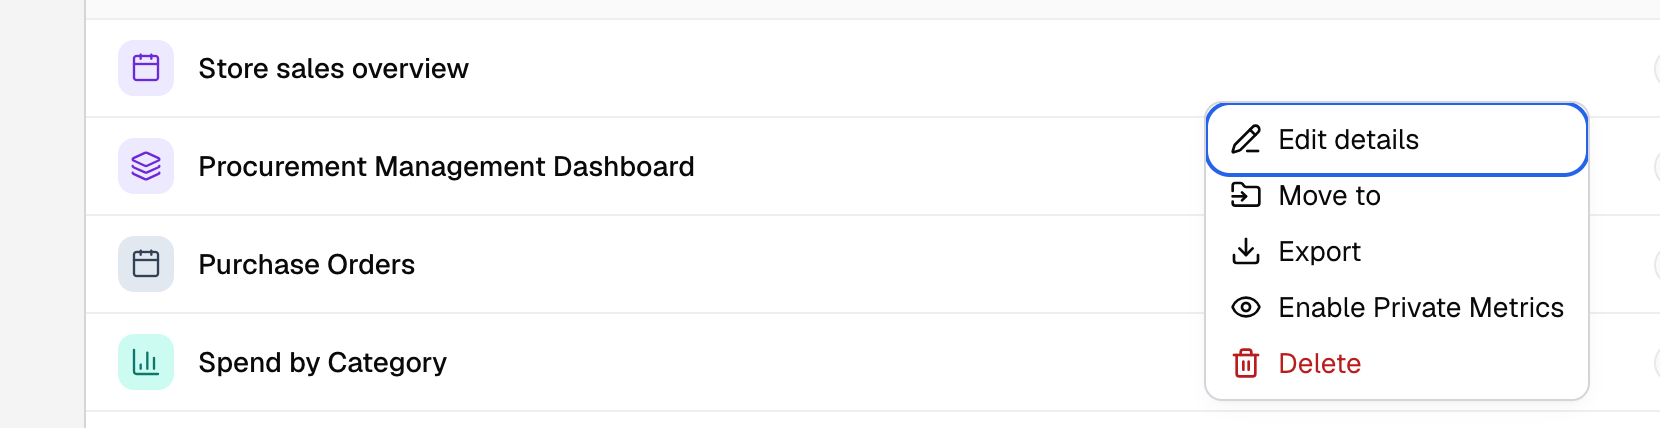
Edit details is the first item in the dashboard's menu. -
Change the Dashboard Name, the Dashboard ID, the colour or the icon.
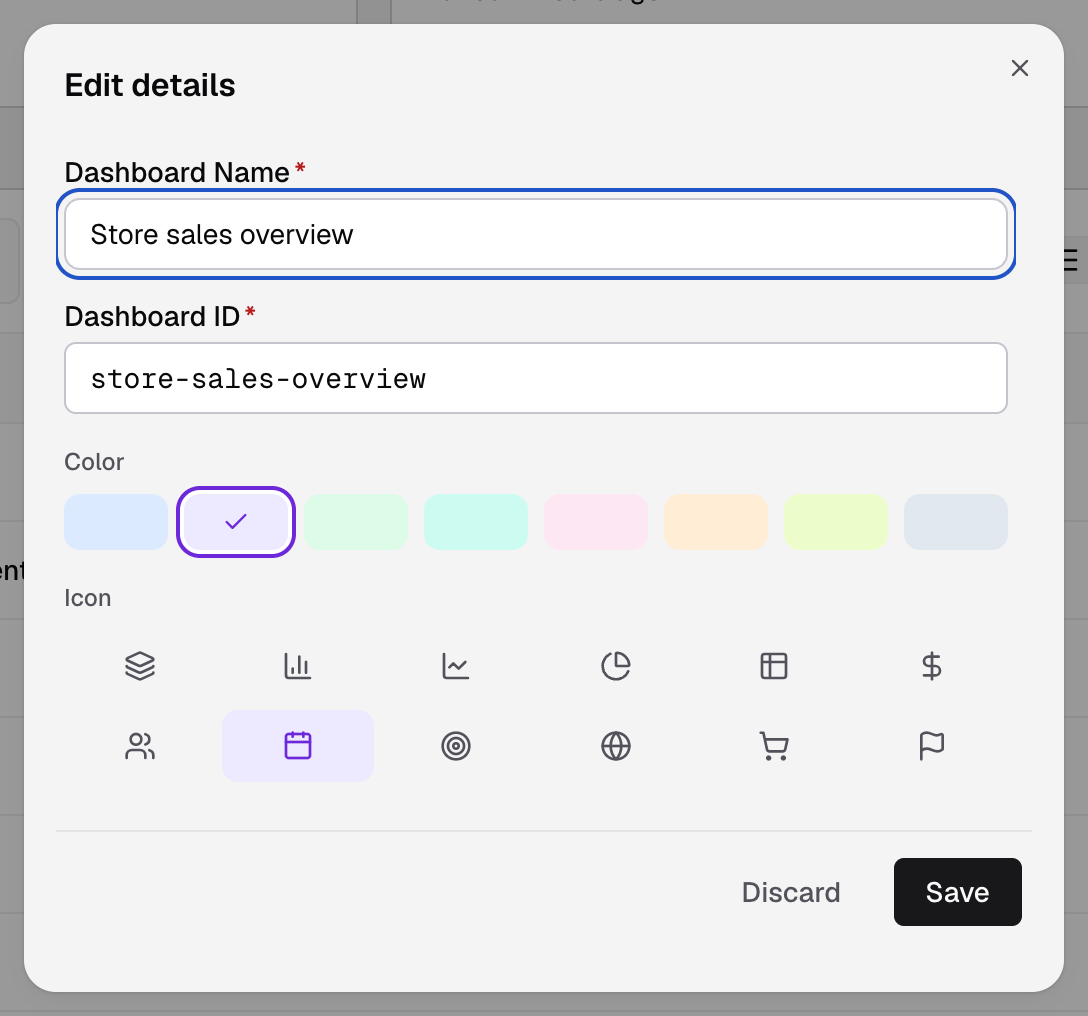
Edit details holds the name, the ID, the colour and the icon. -
Select Save.
You see Dashboard details saved.
Your embed code finds the dashboard by its Dashboard ID. If you change the ID, update the dashboard-id in your app too. See Dashboard ID.
You can also rename the dashboard on the dashboard page:
-
Select the dashboard name in the header.

Select the name in the header to rename it in place. -
Type the new name and press Enter.
To change only the icon and colour, select the tile to the left of the name, then pick a colour and an icon.
Move a dashboard to another workspace
-
On Home, open the dashboard’s ... menu and select Move to.
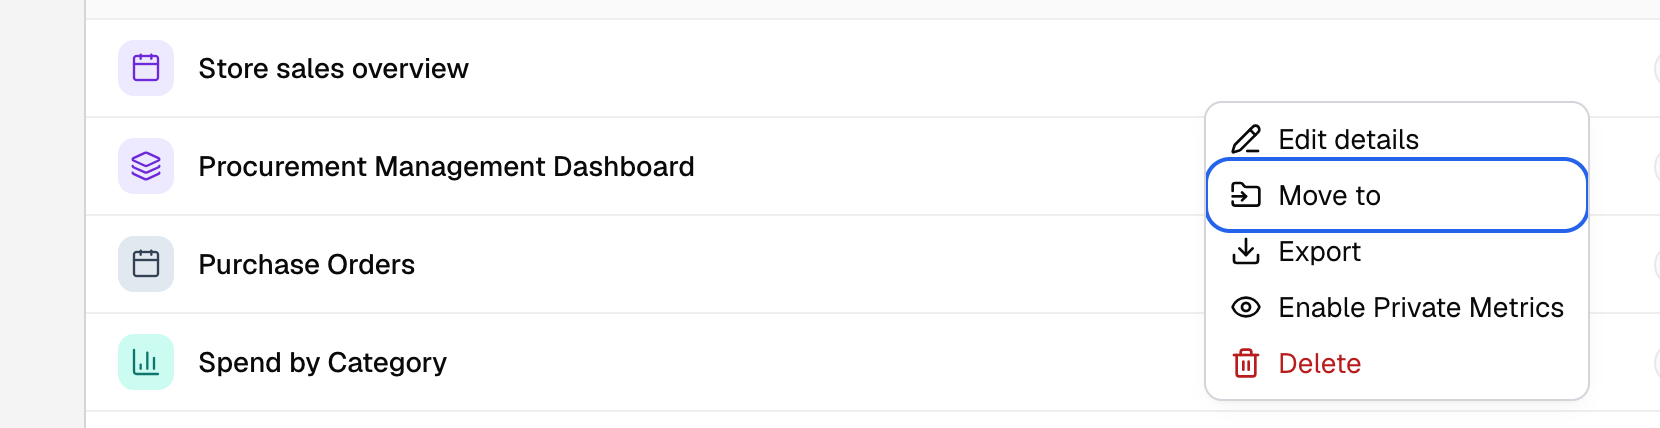
Move to is in the dashboard's menu on Home. -
In Workspace, pick the target workspace.
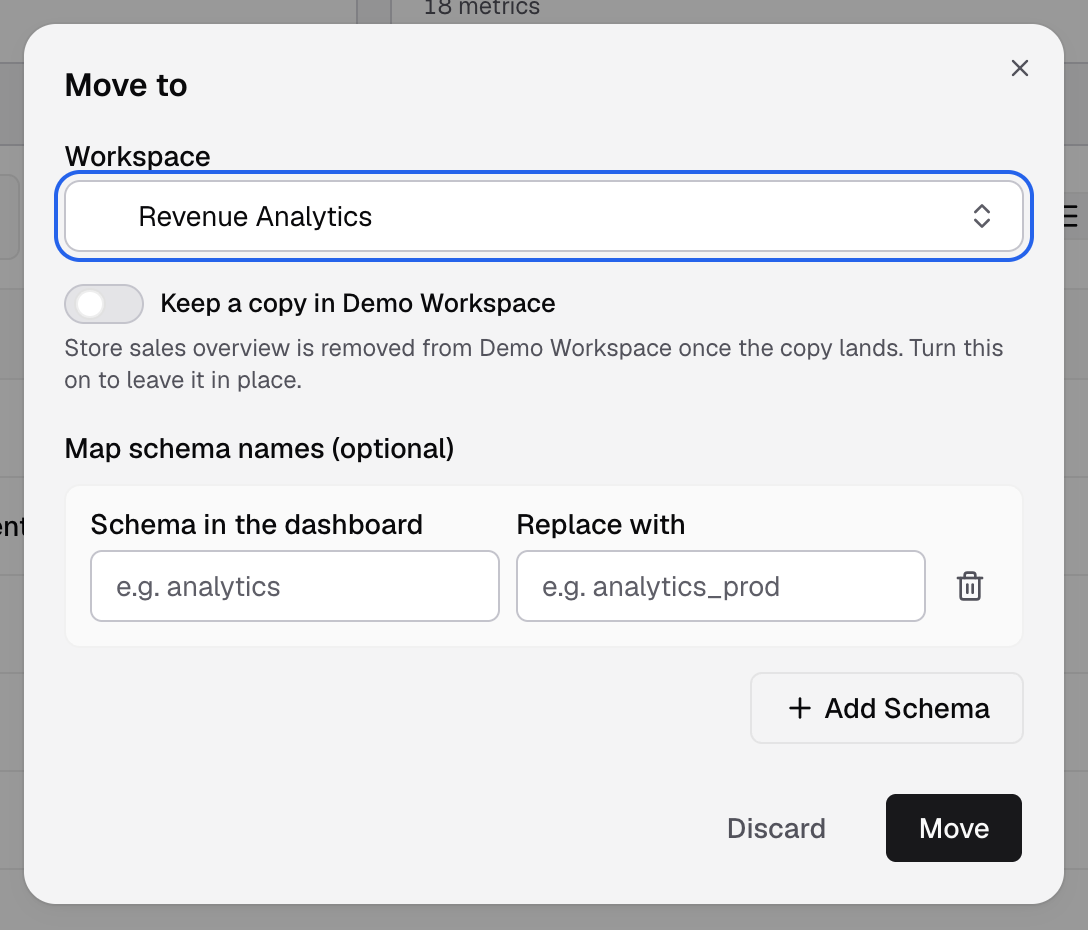
Pick the target in Workspace; the other fields show after you pick one. -
To keep the dashboard in both workspaces, turn on Keep a copy in your workspace.
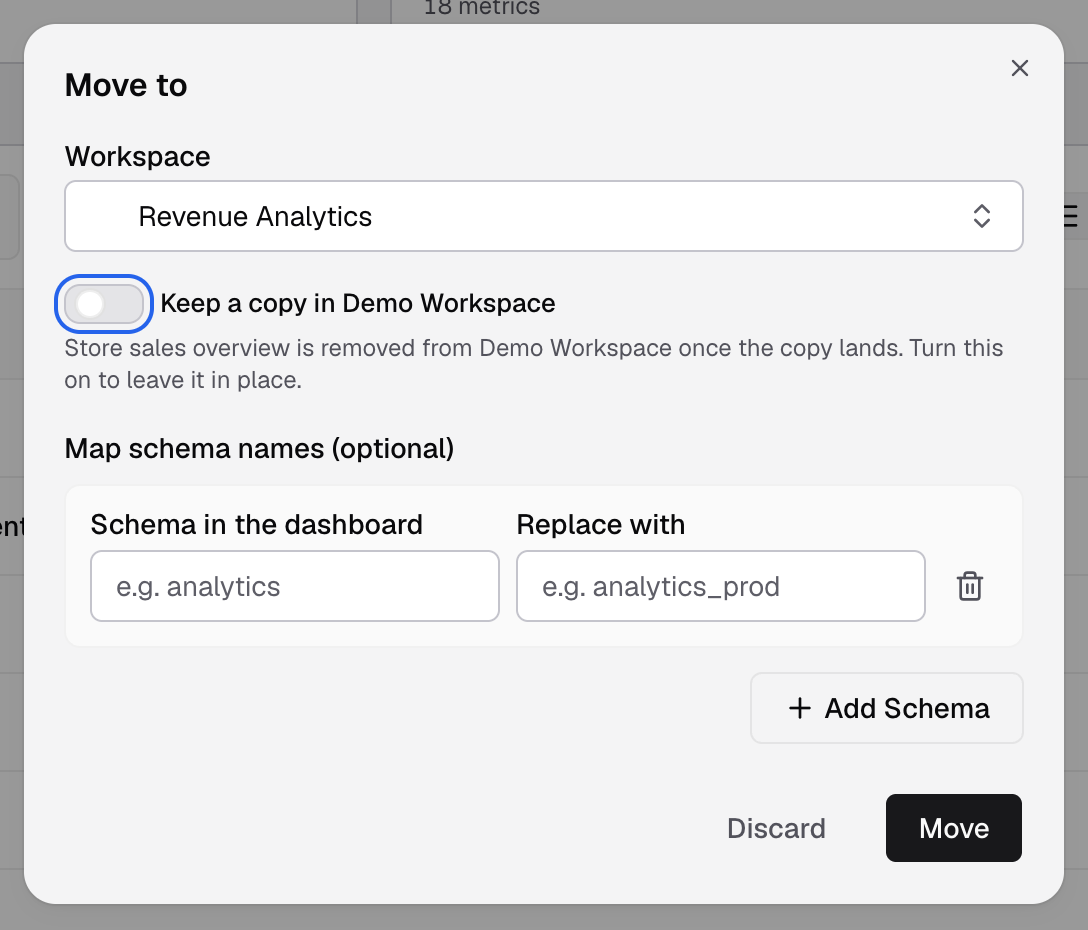
Turn on Keep a copy to leave the dashboard in this workspace too. -
If the schemas differ between the two datasources, add rows under Map schema names (optional).
-
Select Move.
-
If Keep a copy is off, confirm with Move.
You see Move Successful!. With Keep a copy off, the original is deleted. Links and embeds that point at it in the old workspace stop working.
Delete a dashboard
-
On Home, open the dashboard’s ... menu and select Delete.
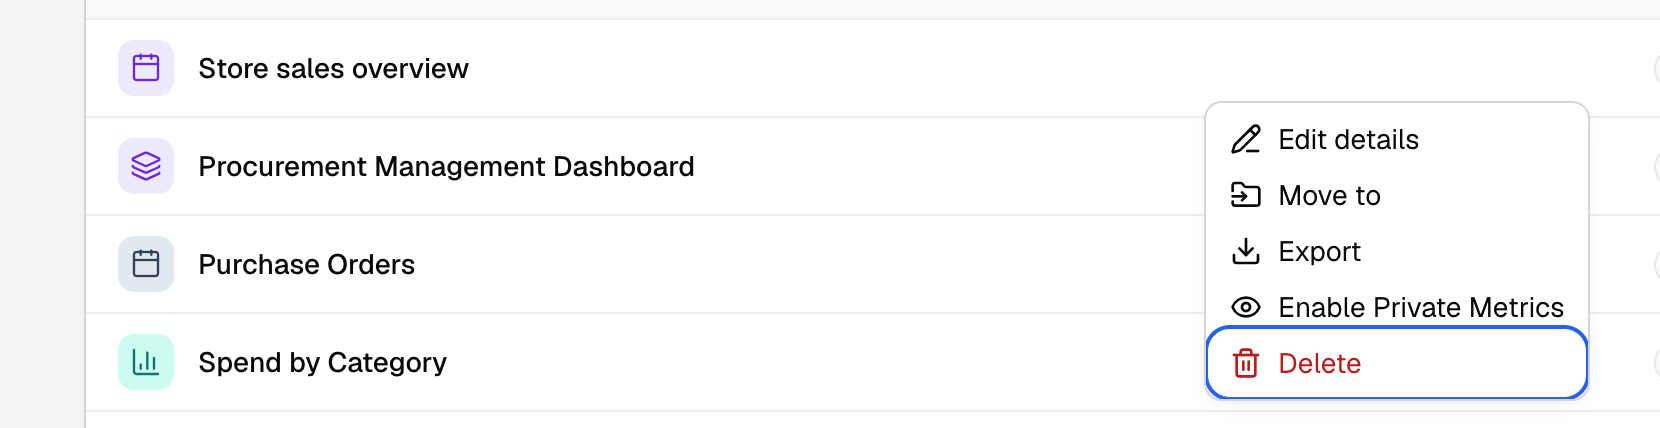
Delete is the last item in the dashboard's menu. -
Read the summary. It lists the metrics that are deleted with the dashboard.
-
Select Delete.
You see Dashboard deleted, and you go back to Home. Deleting a dashboard also deletes the metrics on it. You cannot undo this.
If the dashboard is connected to a data app embed, Delete stays off. Disconnect the dashboard from the listed embeds first. See Add an embed.
Ask Bryn to arrange the dashboard
Select Ask Bryn in the header to ask questions about the dashboard, focus it on some widgets or add a metric Bryn proposes. Bryn’s layout changes are your view only and are not saved. See Ask Bryn about a dashboard.
Other actions in the menu
- Export downloads the dashboard as a JSON file. See Import and export a dashboard.
- Enable Private Metrics or Disable Private Metrics turns private metrics on or off for this dashboard.
Next, arrange the cards.