

Model
Edit model definitions
Add tables and metrics yourself, inspect their results, and define joins in Graph.
Add tables and metrics yourself, then check their results before publishing.
Add a metric
-
Open your semantic model in Grid.
-
Select Pick tables if the model has no tables.
-
Select the physical tables your model needs.
-
Select Add 1 table, or the button with your selected table count.
-
Select Grid.
-
Select Metric beside the plus icon.

Metric adds a new metric definition to the model. -
Enter the Name.
-
Choose the Calculation.

Calculation reads as a sentence: Sum of amount in subscription_orders by order_date. -
Choose the Table.
-
Choose the Column when the calculation requires it.
-
Choose the Date column for a metric over time.
-
Select Run in Preview.

Run checks the definition on real rows.
The preview shows the result from your source. Correct field errors before running again.
The Key identifies the definition. Changing it can affect definitions that reference it. Use a business name for the label and a stable key for references.
For a table, One row is describes its grain. Dated by identifies its date column.
Check the result
-
Open Checks beside Preview.

Checks shows how many checks the definition passes. -
Read whether the definition is valid, runs on real rows, and previews as in a workbook.
-
Open Used in to inspect dependencies before changing a shared definition.
Use Show SQL from the preview menu to inspect the generated query. Use Stop to stop waiting for a running query. The warehouse may still finish it. After a draft or customer change, Run again refreshes the checks for that scope.
Edit in Code
-
Select Code.
-
Select the definition file in the file tree.
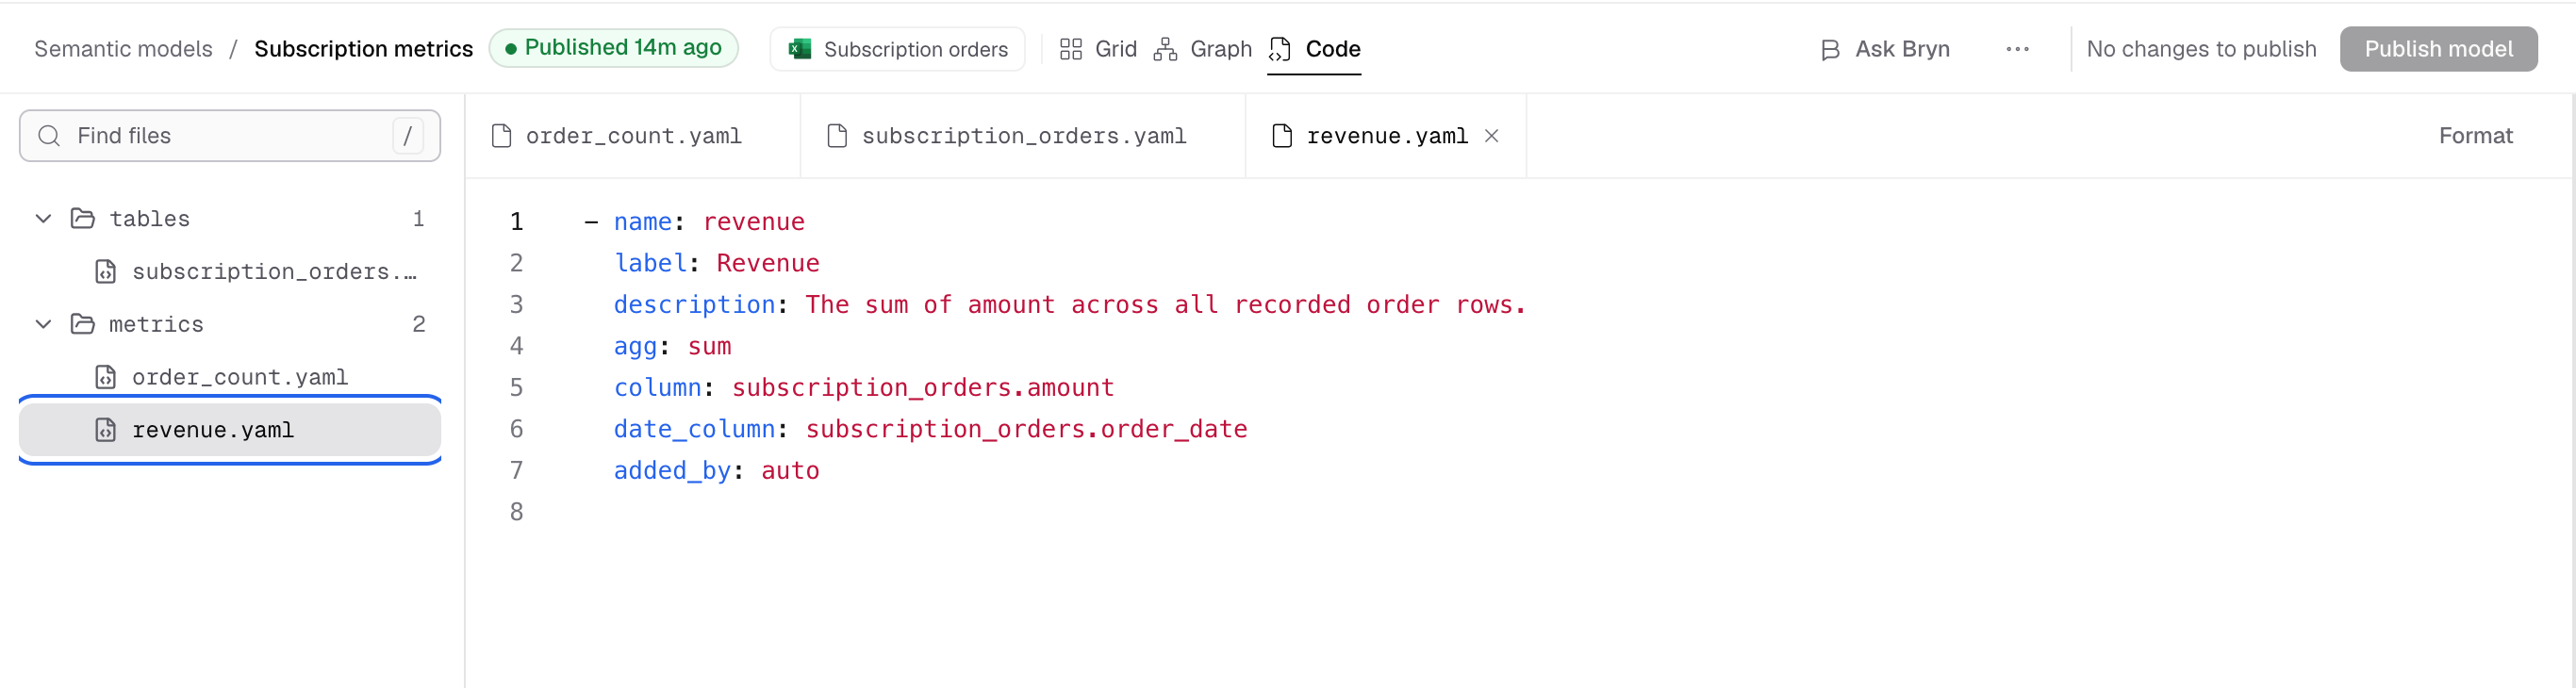
Code shows each definition as a YAML file. -
Edit its YAML.
-
Resolve the problems shown beneath the editor.
-
Run the affected metric again.
Code and Grid edit the same draft. A draft edit does not change the published model.
Add another table
- Select Code.
- Expand Warehouse catalog in the file tree.
- Select the physical table.
- Select Add to model.
Define a join
Add both tables to the model before defining their join.
- Select Graph.
- Drag from one table’s column dot to the matching column dot on another table.
- Select Choose columns yourself to inspect or change the column pairs.
- Use Add column pair if the relationship needs multiple columns.
- Select which rows to keep.
- Choose Expected matches from your business rule.
- Select Check row effects.
- Read the matching rows and possible row loss or multiplication.
- Select Add join only when the relationship is correct.
Close the join card to discard an unsaved join. Use Undo after adding a join to reverse that draft change. Open an existing join to edit it, then select Save join.
If Bryn proposed the join, select Review changes. Read every included definition before accepting. A proposal can include other joins and metrics. Review the full proposal.
Row effects describe the rows checked. They are not a guarantee about every row in your datasource.
Next, check and publish the model.