

Model
Create a datamart
Choose the tables and columns people can use, how they join, and how they are scoped per customer.
A datamart is the set of tables, columns and joins from one datasource that people use to build metrics. If your company uses Semantic Models instead of Datamarts in Data Studio, follow Create a semantic model.
Before you start
- You are an Admin or a Developer, or your role has the datamart Create permission.
- You have a connected datasource.
Create the datamart
-
Go to Data Studio > Datamarts and select New datamart. Right after you connect a datasource, you can also select Model your data.

New datamart is at the top right of the Datamarts page. -
Enter a Datamart name, for example
Release metrics. -
Select the Data source.
-
Check Tenancy level:
Table,DatabaseorMulti-database. See Choose a tenancy model. -
Select Create datamart.
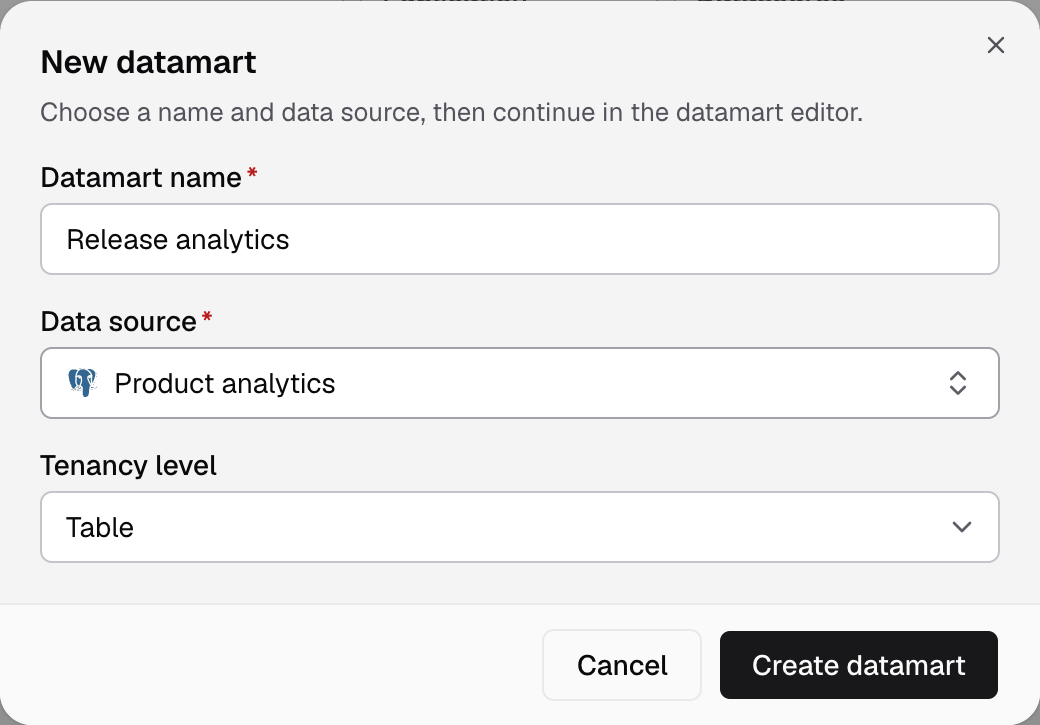
The datamart editor opens with four steps.
Step 1: Pick your tables
- Select a schema on the left.
- Select the tables this datamart exposes. Use Search to find a table.
- Optional: enter a Display label for a table.
- Select Next: choose columns.
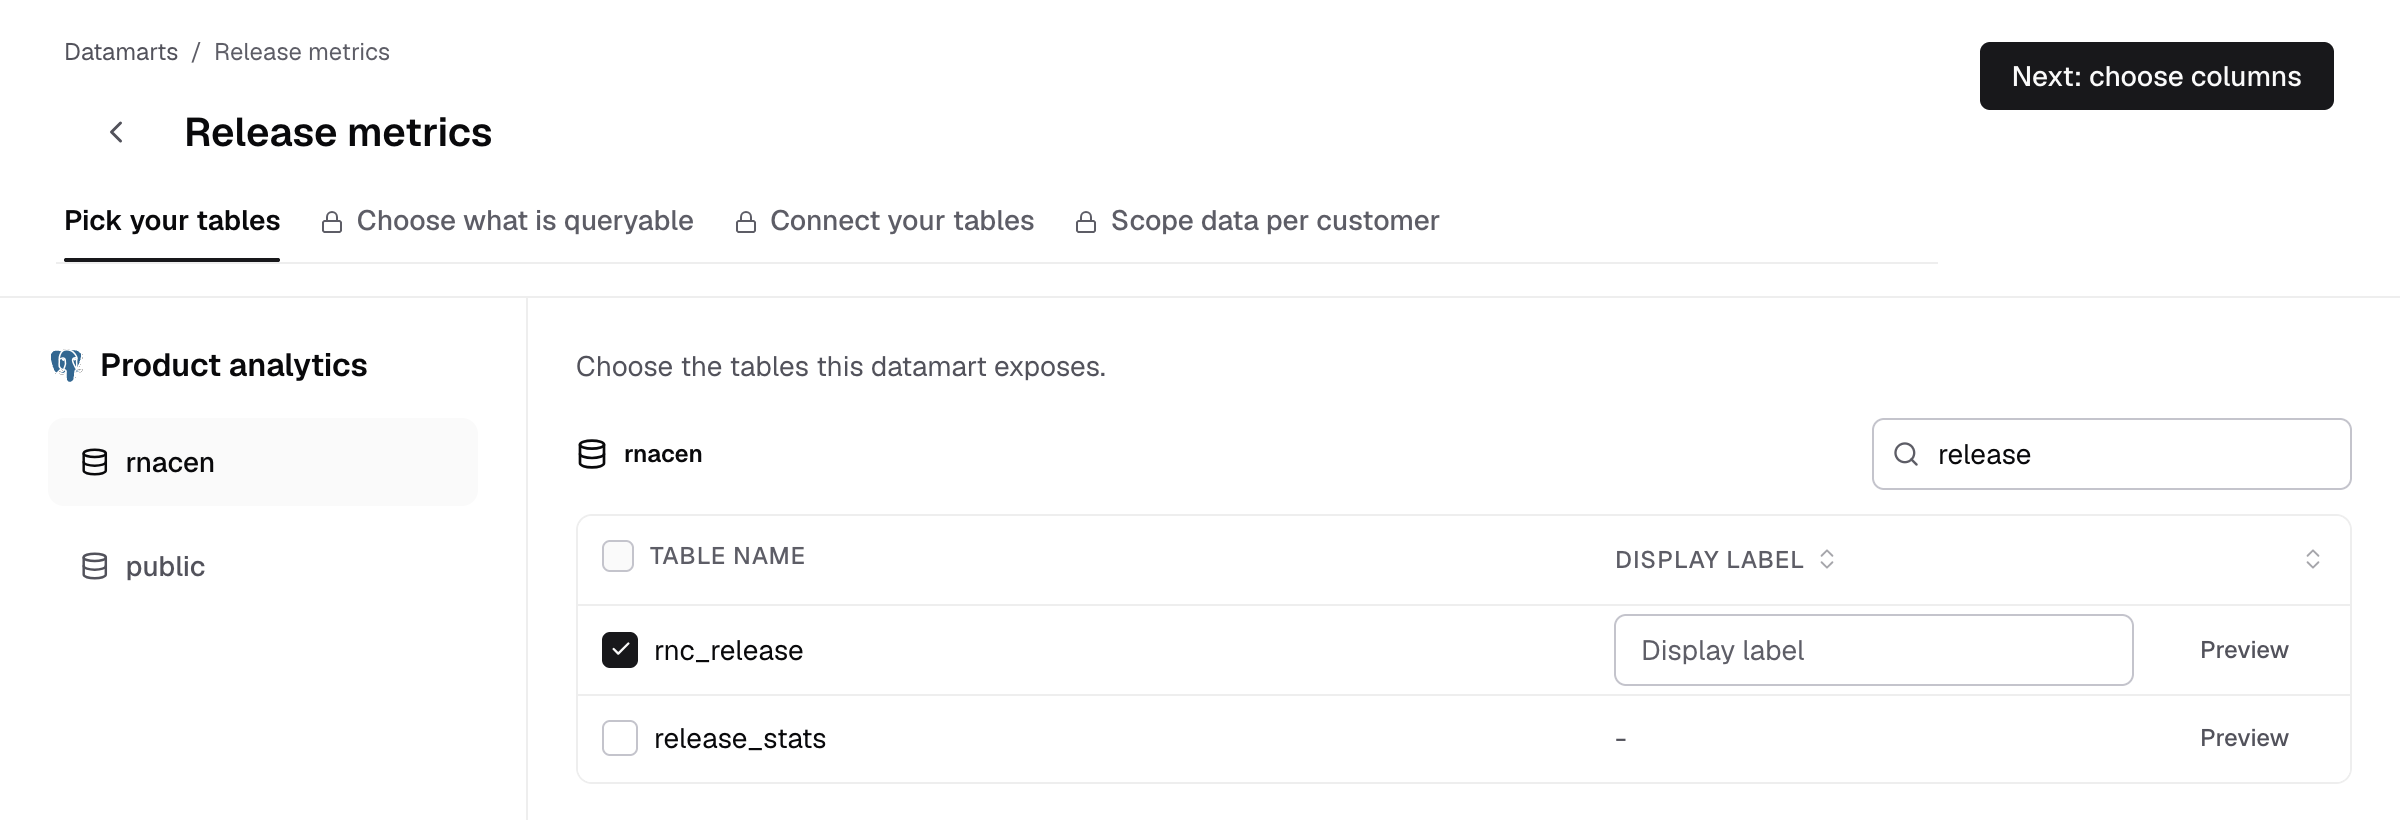
Step 2: Choose what is queryable
- For each table, select its columns, or select the header checkbox to select all.
- Optional: set Alias, Label, Hide to, Timezone, Default sorting and Transform for a column.
- Select Next: connect tables.
Every table needs at least one column. Until then, you see Pick at least one column in every table to continue.
Step 3: Connect your tables
- Select Add relationship to join two tables.
- Select Next: set tenant scope.
Joins are optional. Skip this step if each table is queried on its own.
Step 4: Scope data per customer
- For Table tenancy, pick the table with one row per customer, its Primary key, Primary key type and Customer name.
- Under Client column mapping, pick the Client column for each table.
- Select Complete.
You can skip the fields and set tenancy later on the datamart’s Tenancy tab. Set it before you embed dashboards for customers. See Set tenancy on a datamart.
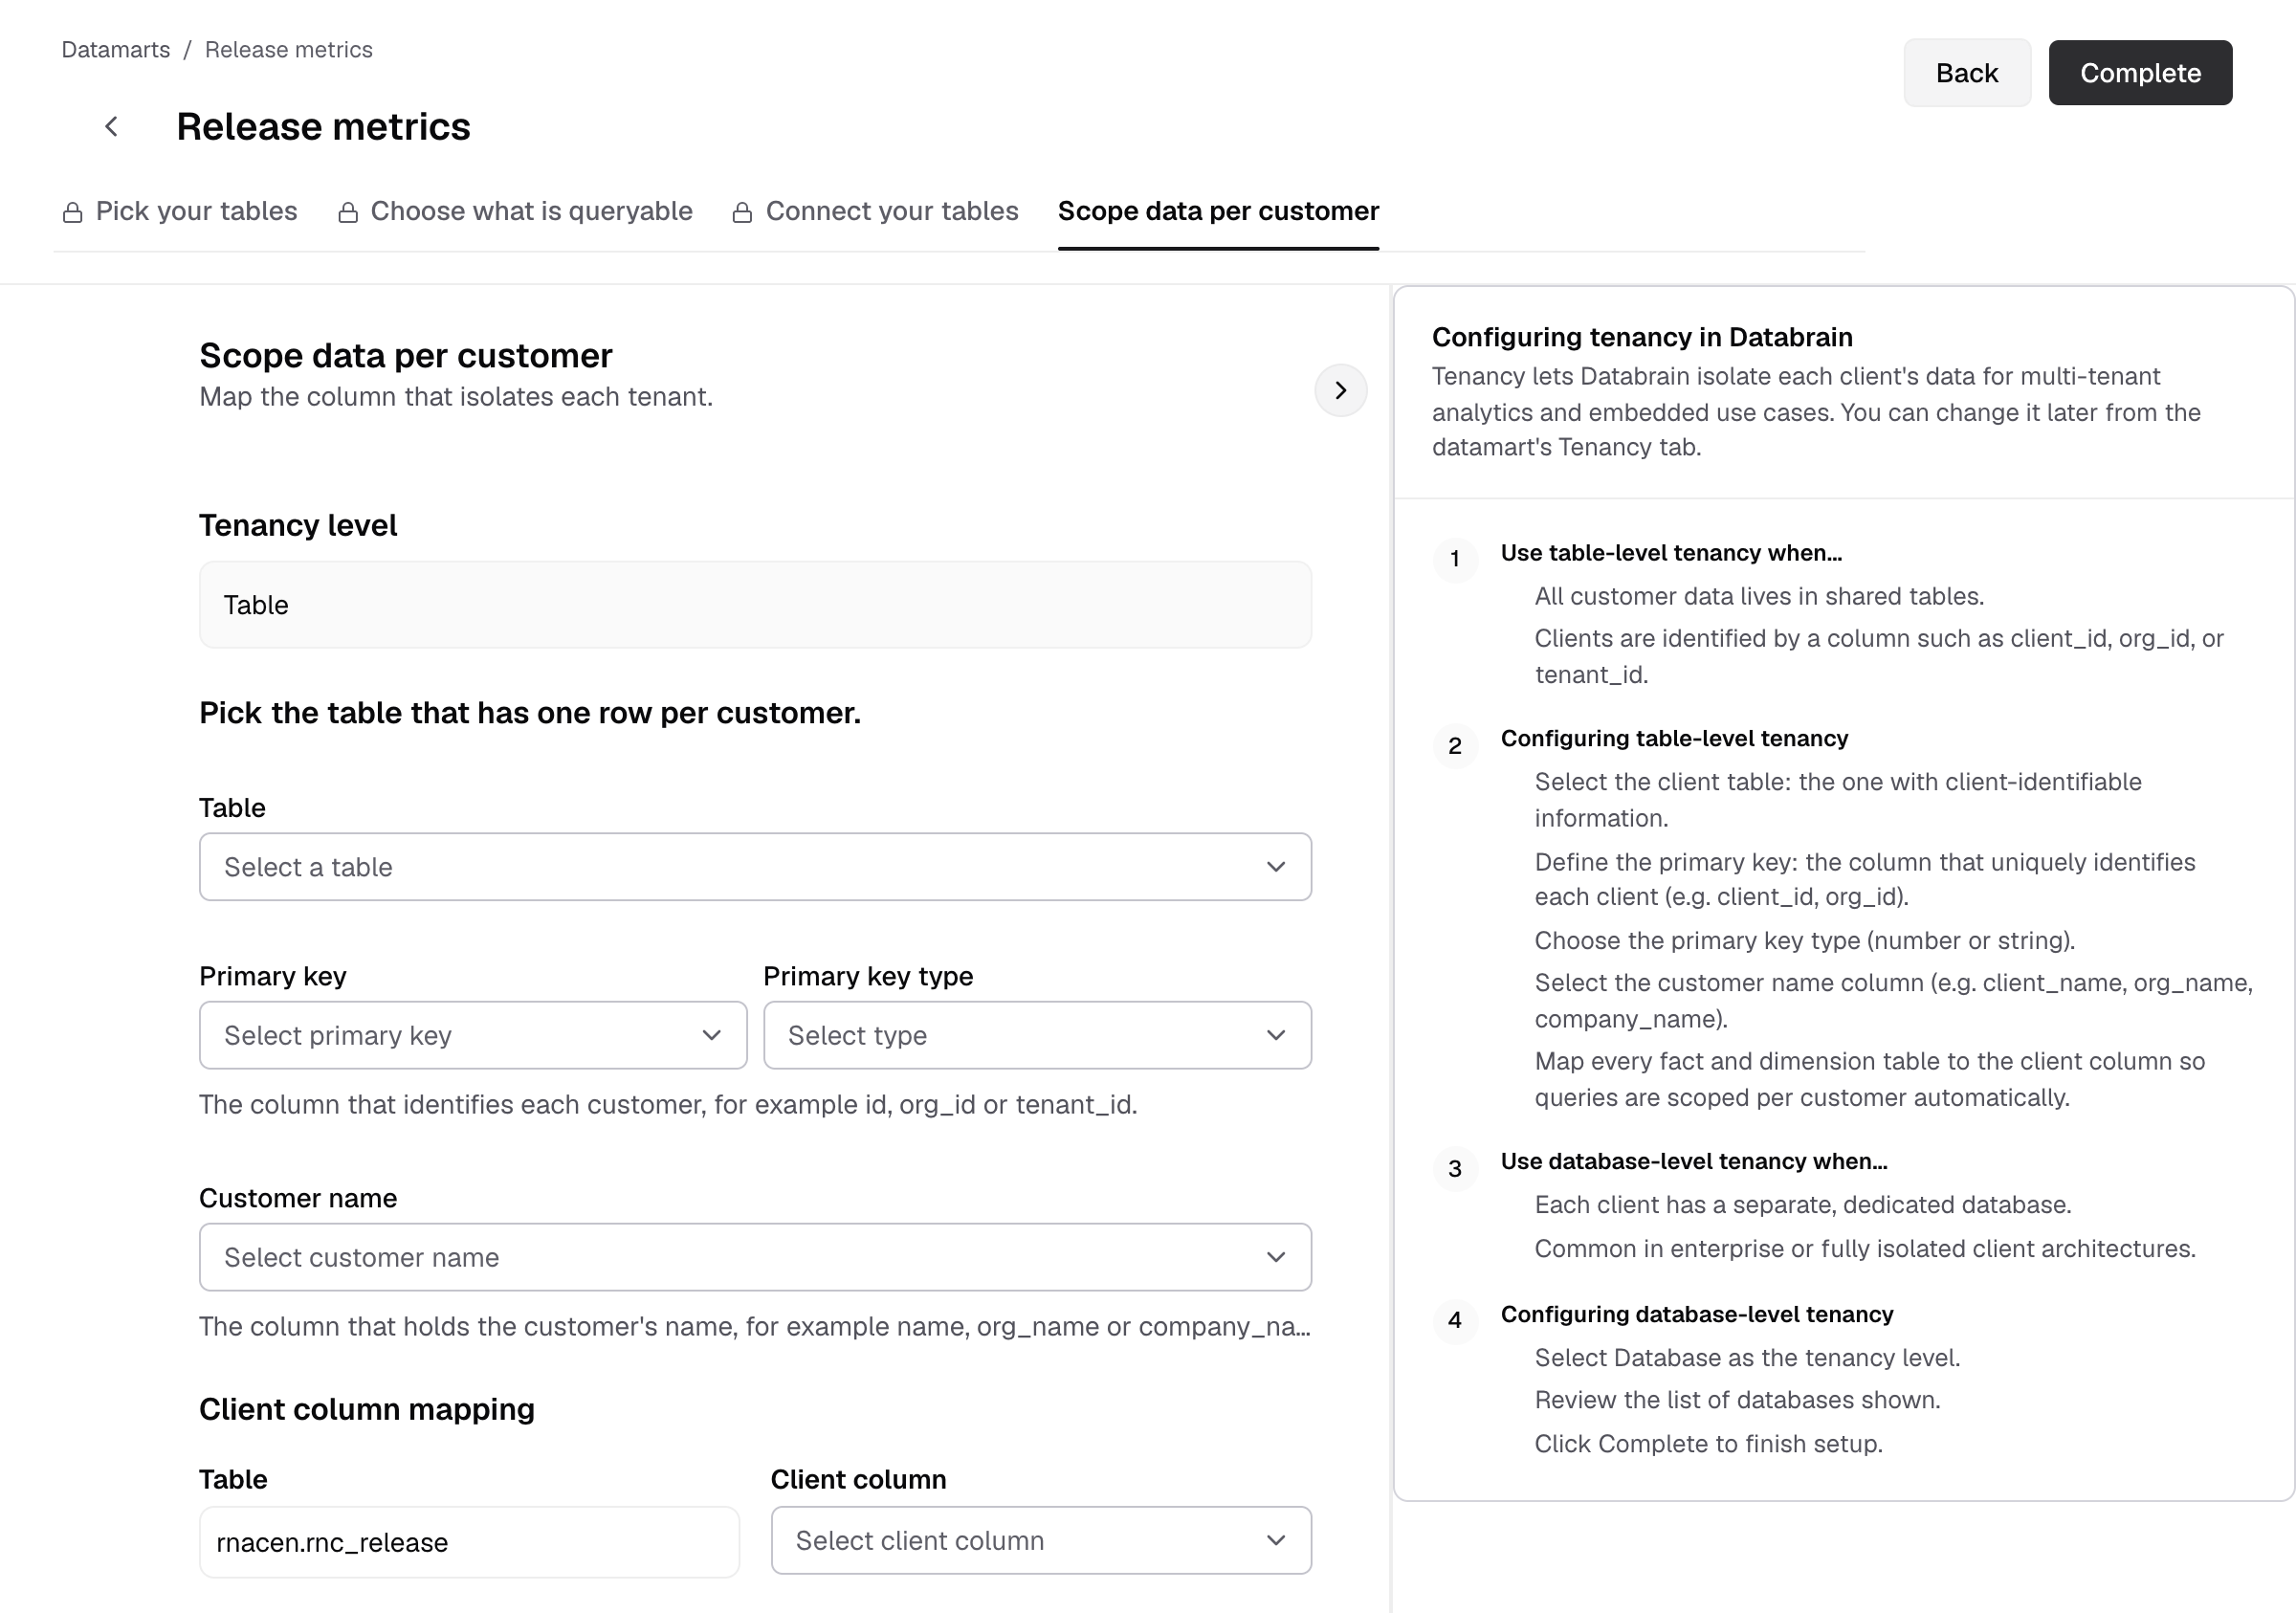
You see Datamart ready, and the datamart shows in Data Studio > Datamarts with the label Classic model. Next, describe its tables and columns so Bryn and your team use the right fields.
Change a datamart later
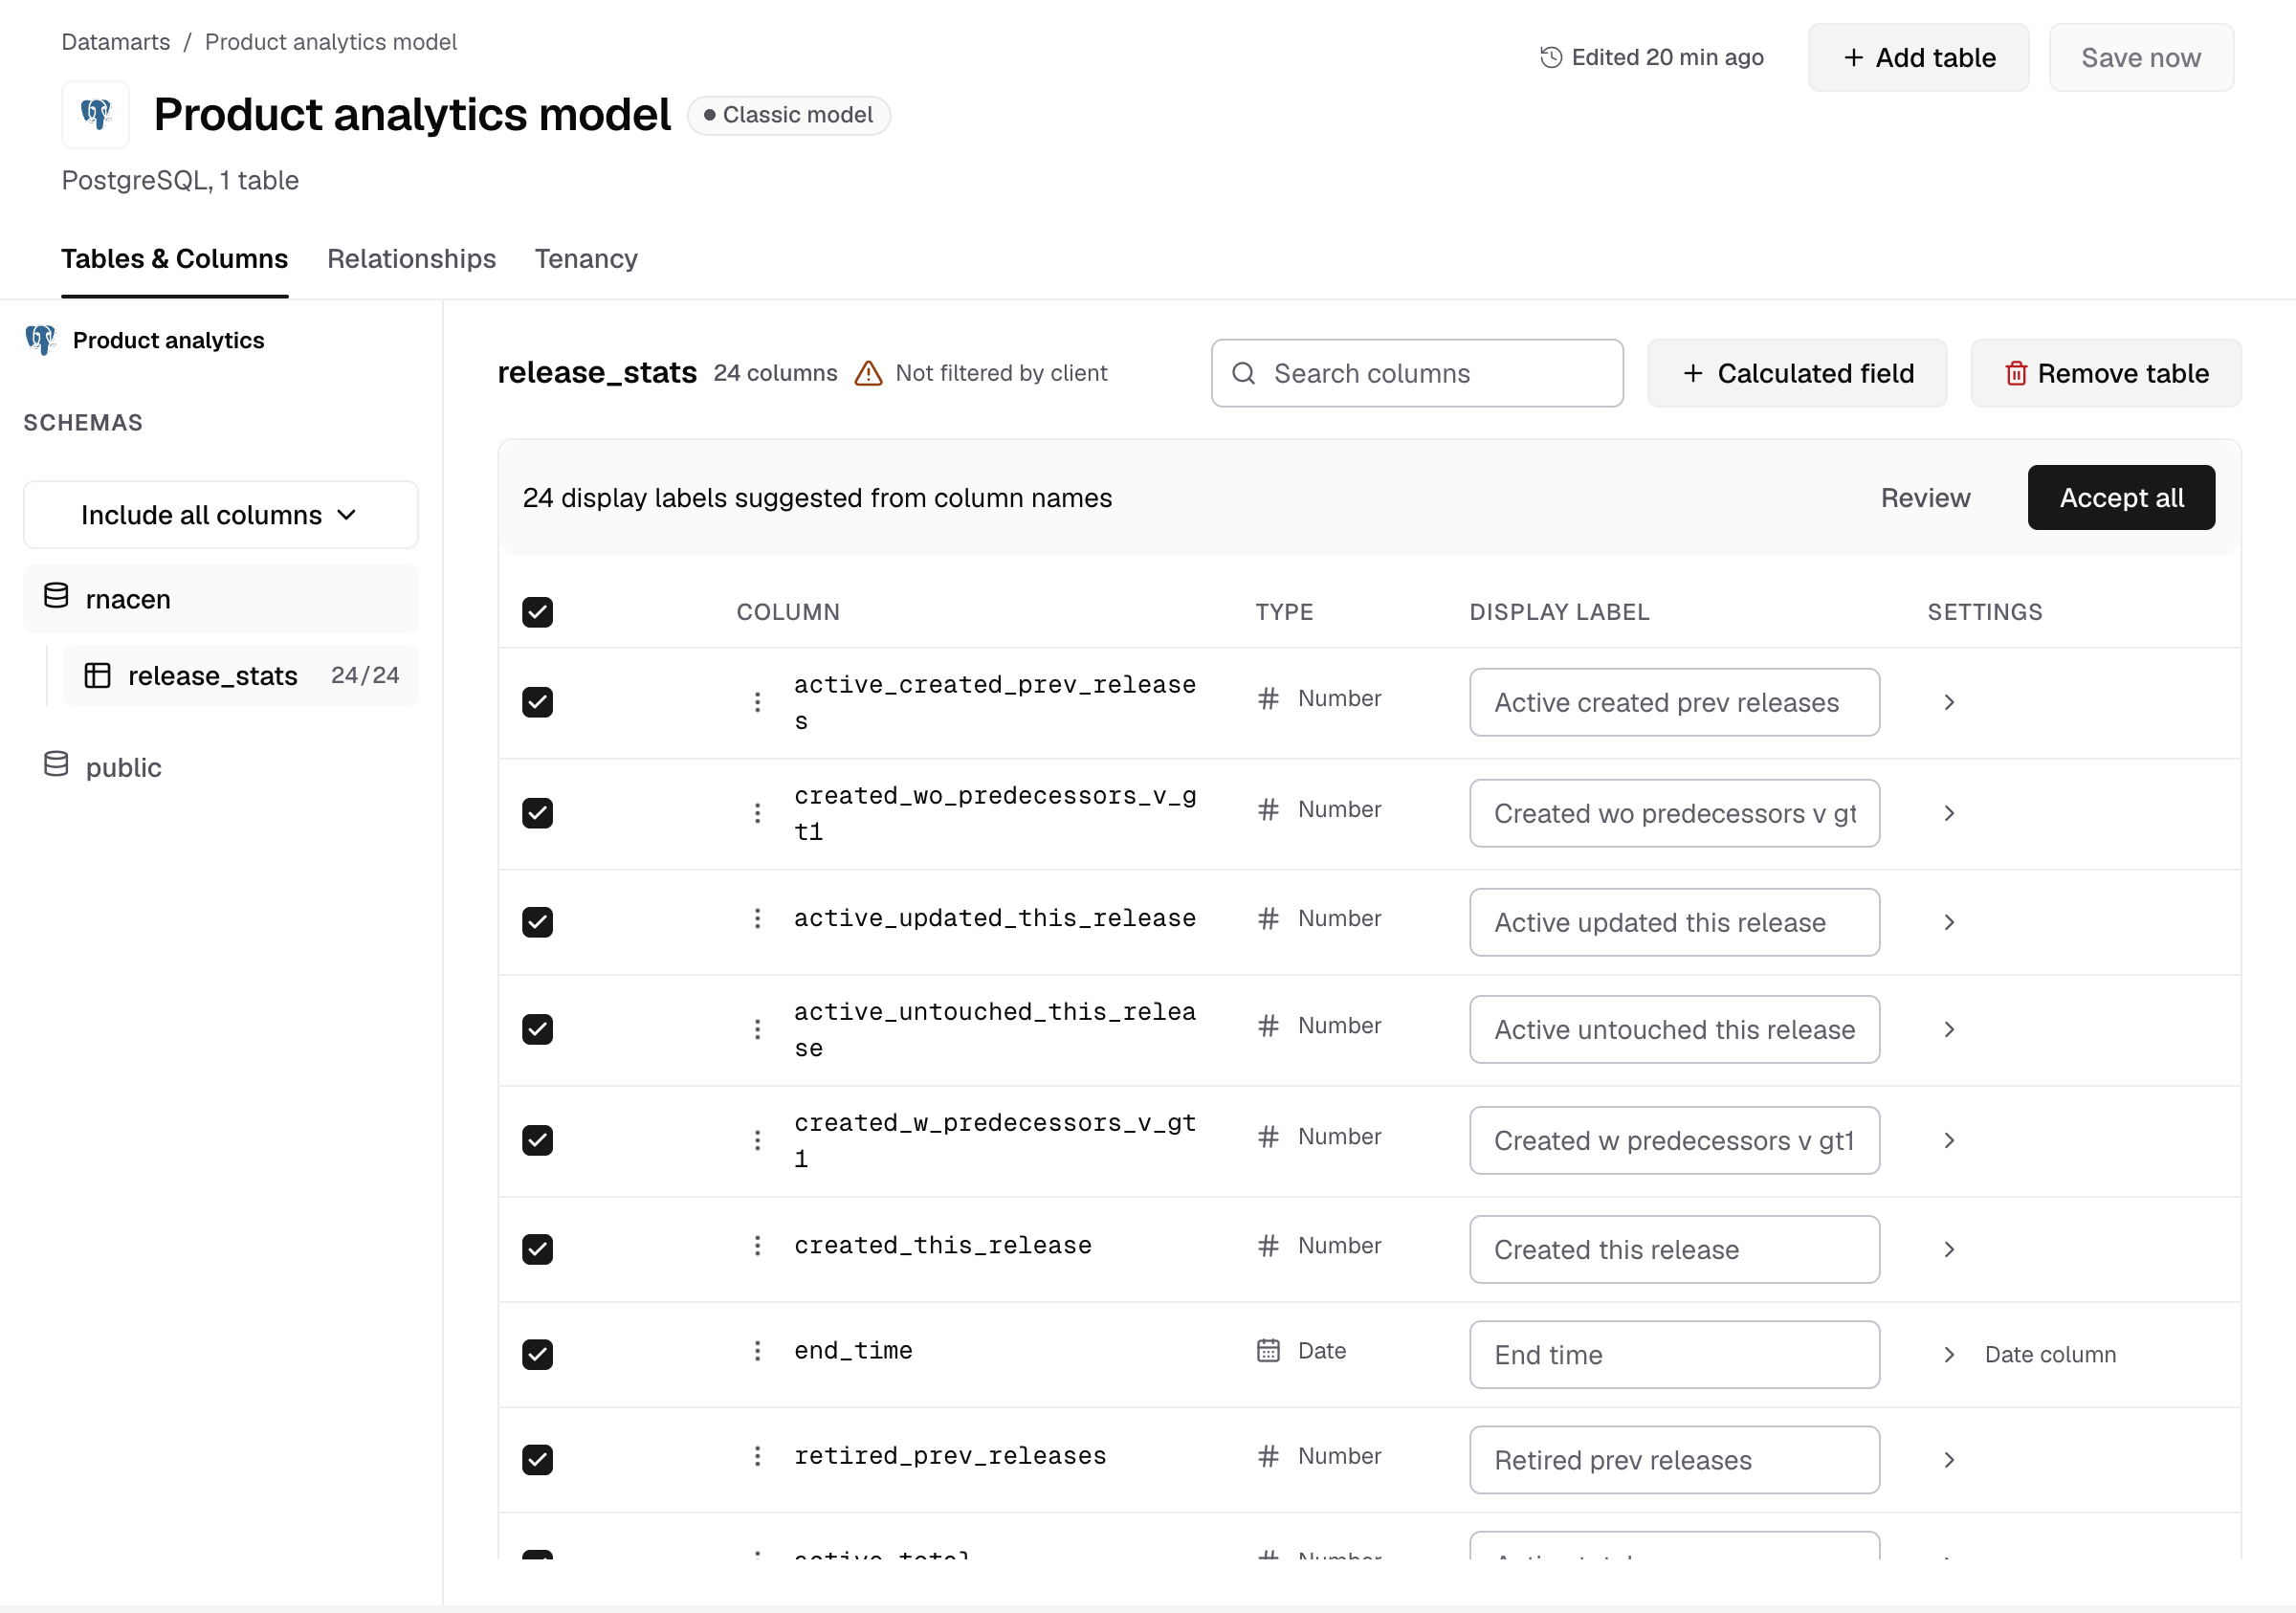
Open the datamart from Data Studio > Datamarts. The editor has three tabs:
- Tables & Columns: add a table with Add table, change columns, labels and settings.
- Relationships: change joins.
- Tenancy: see Set tenancy on a datamart.
Select Save now to save.
Model view (preview)
When the model canvas preview is on for your company, the datamart editor shows a Table / Model switch, and the datamart’s row menu shows Open model view.
- The canvas shows each table as a card. Drag from a column on one table to a column on another to add a join.
- Select Add tables to add tables. Use Auto-arrange to lay out the cards. It discards your own layout.
- Lenses show Structure, Joins, Tenancy and Docs. Select a table to set its Tenant column and Description.
- On a new datamart, select Complete model to save, or Switch to table view for the four steps above.
The canvas needs a screen at least 1024 px wide.
If something goes wrong
- A datamart with this name already exists. Choose another name.
- No active data sources are available. Select Connect a data source, or turn on a disabled datasource.
- Cannot remove a table because tenancy settings use it. Change the tenancy settings first.