

Share and schedule
Schedule reports for internal users
Email a dashboard to your team as a PDF on a daily, weekly, monthly or one-time schedule.
Before you start
- You are an Admin, or your role has the Schedule Internal Reports permission. The default Editor role does not have it.
- Your company has a saved email connection in Settings > Email Settings. See Email settings.
- The dashboard has at least one metric.
Steps
-
Open the dashboard.
-
Select ... (Dashboard settings and more) and then Report scheduler.
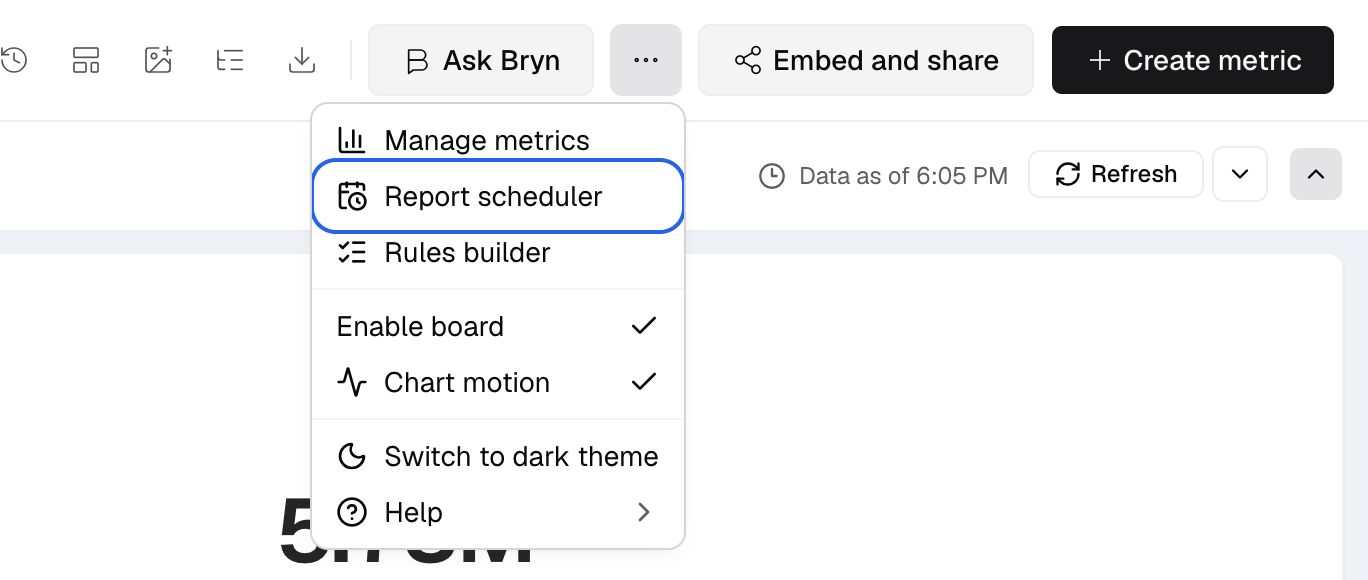
Report scheduler is in the Dashboard settings and more menu. -
In Report Scheduler, select Schedule.
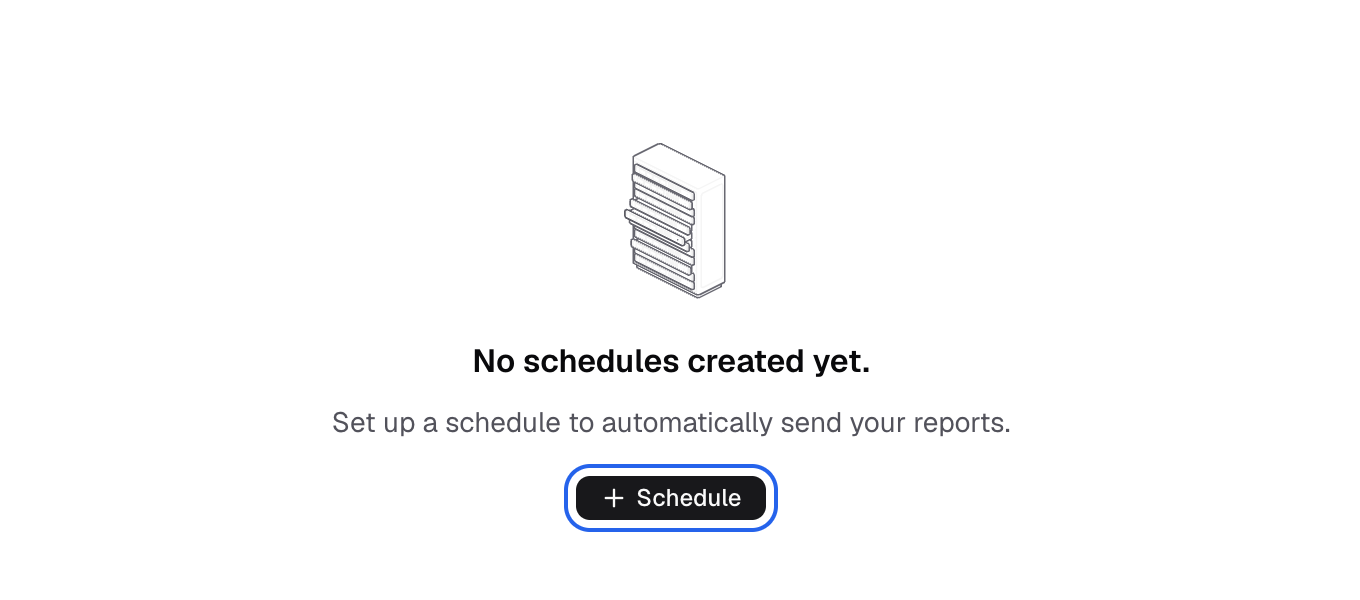
With no schedules yet, select Schedule in the middle of the panel. -
Enter a Subject Line, for example
Monthly dashboard report.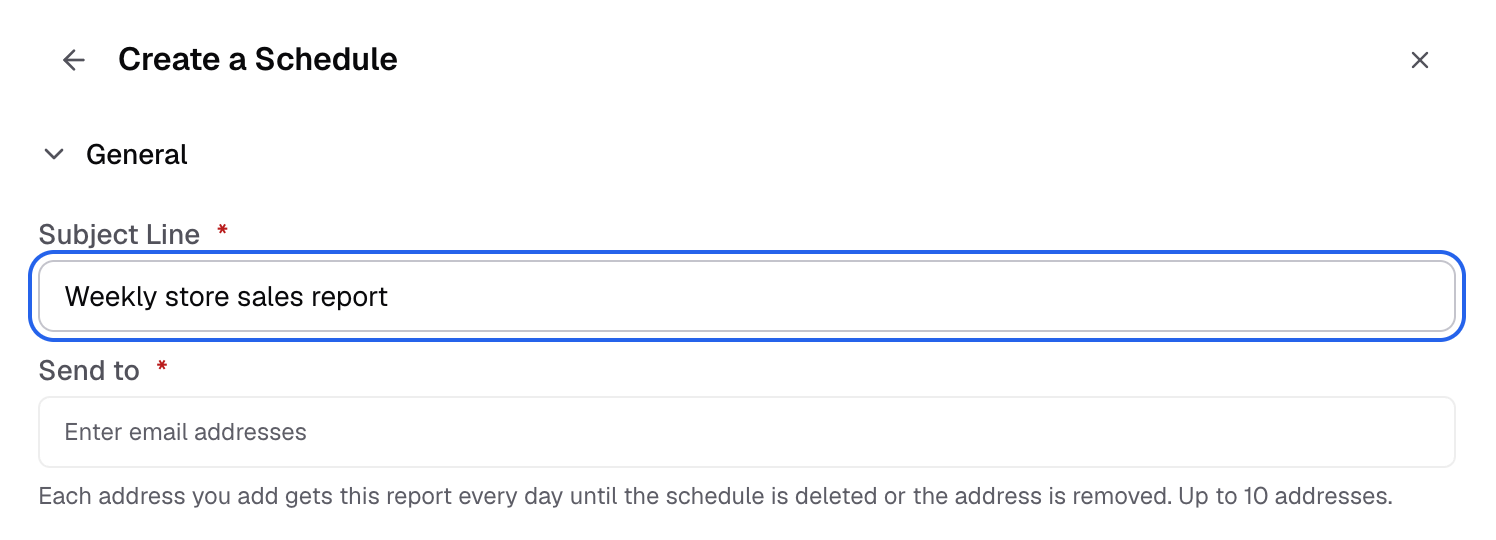
Create a Schedule opens with Subject Line and Send to at the top. -
In Send to, enter up to 10 email addresses.
-
In Charts to Attach, pick the charts for the report.
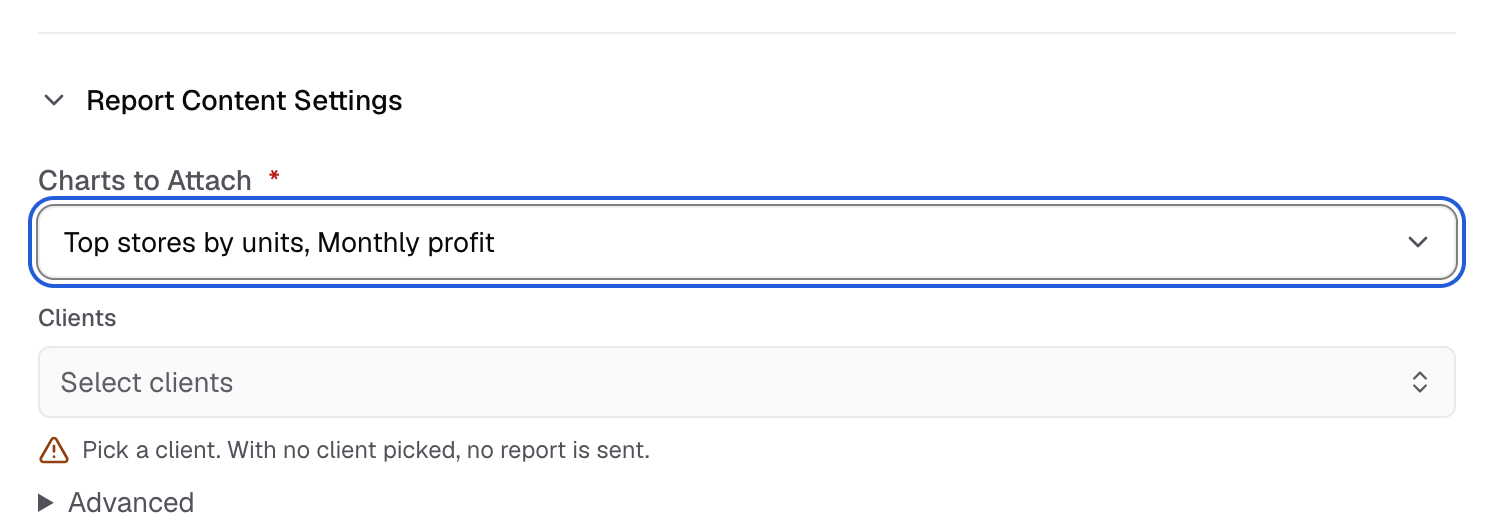
Pick the charts for the report in Charts to Attach. -
In Clients, pick one or more clients. With client tenancy, the form warns “Pick a client. With no client picked, no report is sent.” until you pick one.
-
Optional: pick Filters and their values to apply to the report.
-
Optional: set Page Setup & Delivery: Orientation, Cards per page, Long tables and Deliver as.
-
In Schedule Settings, choose the Frequency of emails: Daily, Weekly, Monthly or One Time.
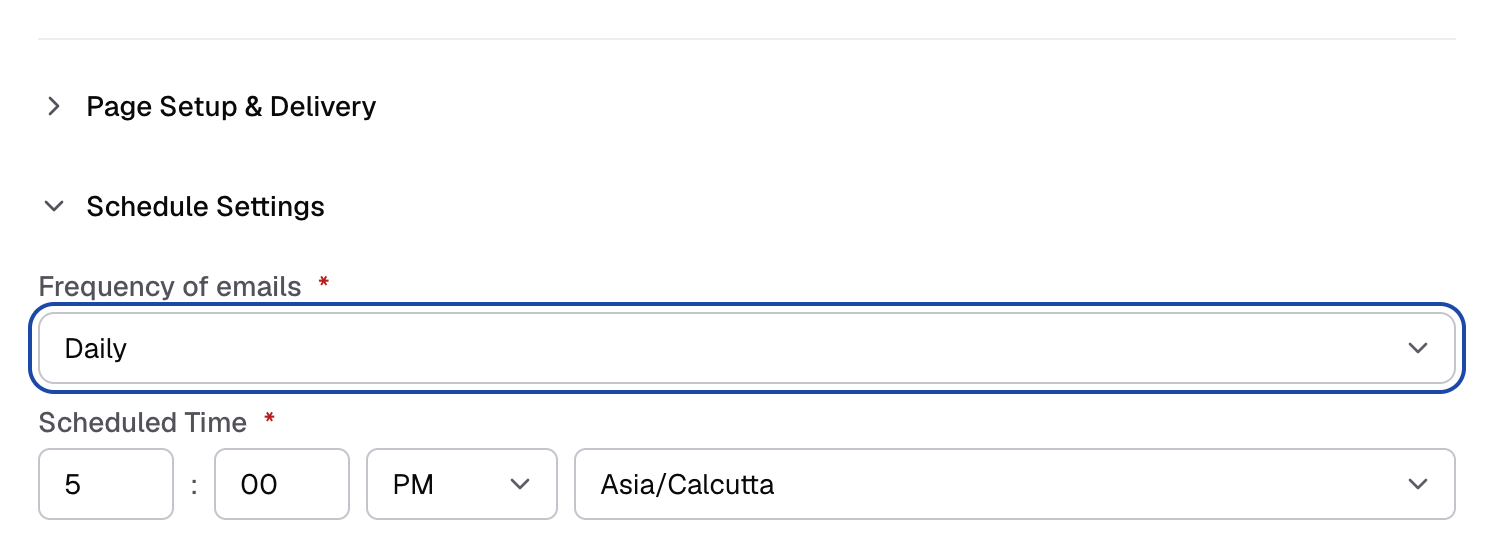
Frequency of emails, Scheduled Time and Timezone are under Schedule Settings. -
Set the Scheduled Time and the Timezone.
-
Select Save.
You see Scheduled successfully!, and the schedule shows in the list. To change it, select its row. To delete it, open Report row actions and select Delete.
Options
- Include ‘View Full Dashboard’ Button adds a View dashboard button to the email. Recipients open the dashboard without signing in. The link works for one report period (24 hours for daily, 7 days for weekly, 30 days for monthly), and each opening lasts 15 minutes.
- Share Download file attaches the data. Choose CSV or Excel in Download File Format.
- Deliver as sends a PDF attachment (default) or puts the report in the email body.
- Weekly lets you pick the days in Send on. Monthly offers the first day, the last day, the first Monday or the 15th.
How sending works
- If a recurring report is late, Databrain sends it once at the next run.
- A one-time report that is more than 60 minutes late is not sent.
- If only the CSV fails, the PDF still goes out. If every chart fails, recipients get a failure notice.
If something goes wrong
- Report scheduler (set up email first). Save an email connection in Settings > Email Settings.
- You already have a scheduled report with this name on this dashboard. Use a different Subject Line.
- Pick a client. With no client picked, no report is sent. Pick at least one client in Clients.
- Choose a time at least 2 minutes from now. Set a later Scheduled Time.
To let your customers schedule reports from an embed, see Scheduled reports for end users.