

Supported connectors
Connect CSV and spreadsheet files
Upload CSV, XLSX or Parquet files and query them as tables.
Before you start
- You are an Admin or a Developer, or your role has the datasource Connect permission.
- Each file has a header row. Databrain reads the first row as column names.
- CSV files are comma-separated and UTF-8. A semicolon-separated export reads as one column.
Connect
-
Go to Data Studio > Datasources and select Connect data source.
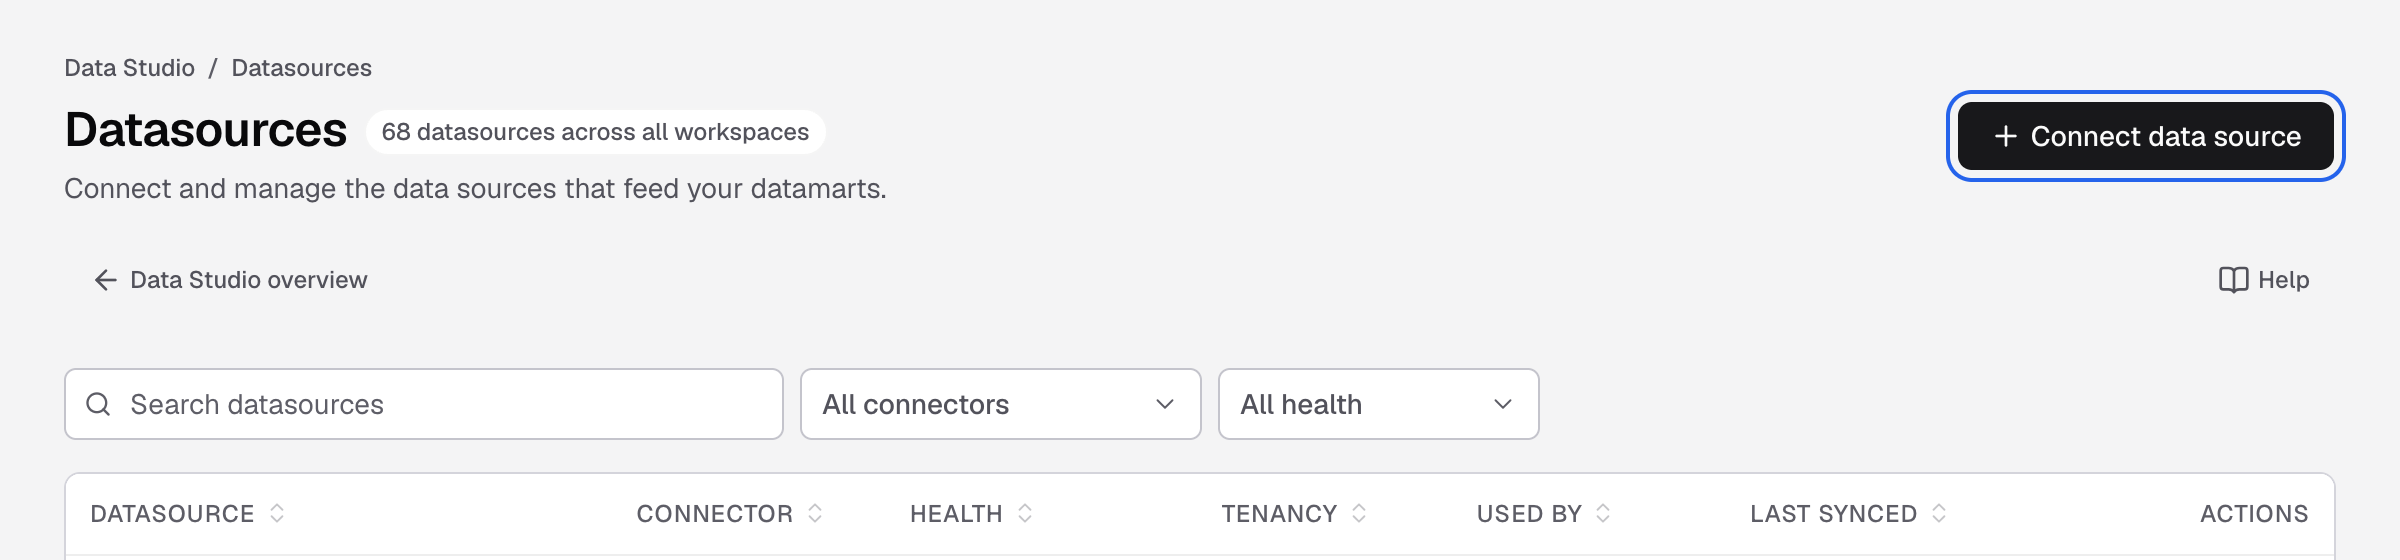
Connect data source is at the top right of the Datasources page. -
Select CSV. You can type the name in Search connectors.
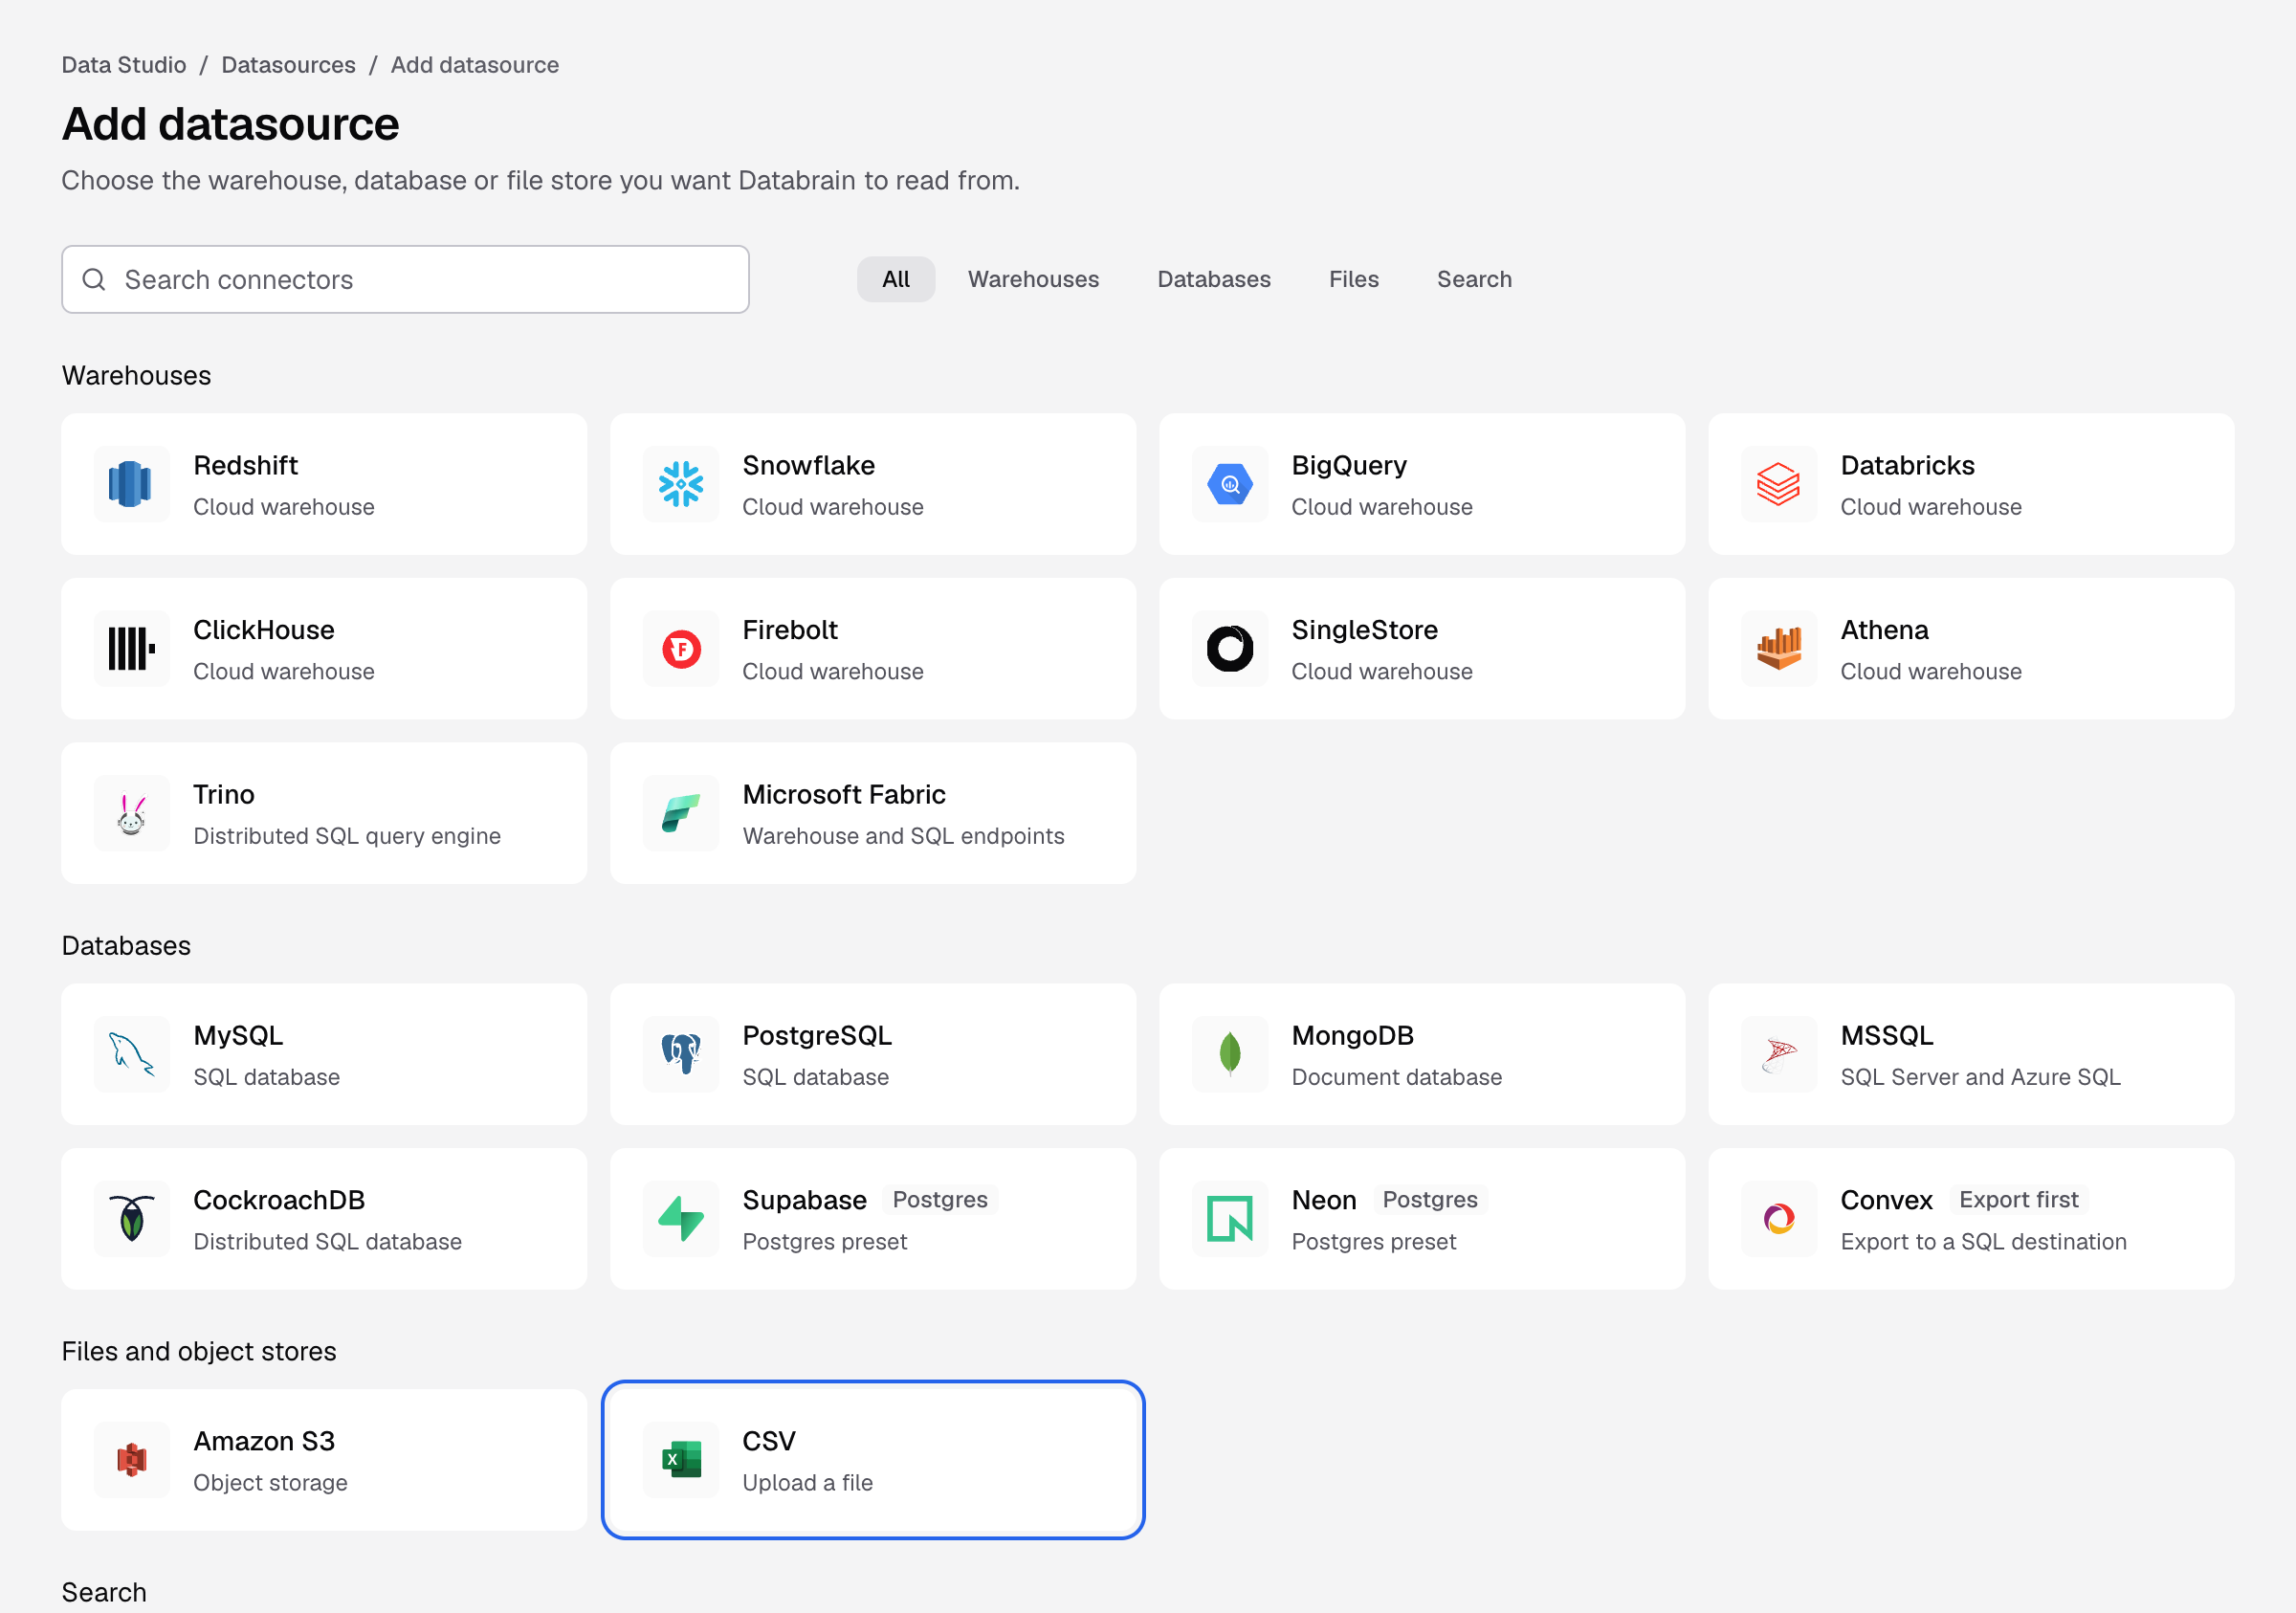
The CSV tile on the Add datasource page. -
Fill in the form:
Field What to enter Datasource name How this datasource appears in lists and pickers, for example Production warehouse.Files Drag files in, or select Choose files. CSV, XLSX or Parquet, up to 5 files. Each file name becomes a table name. -
Select Upload and connect.
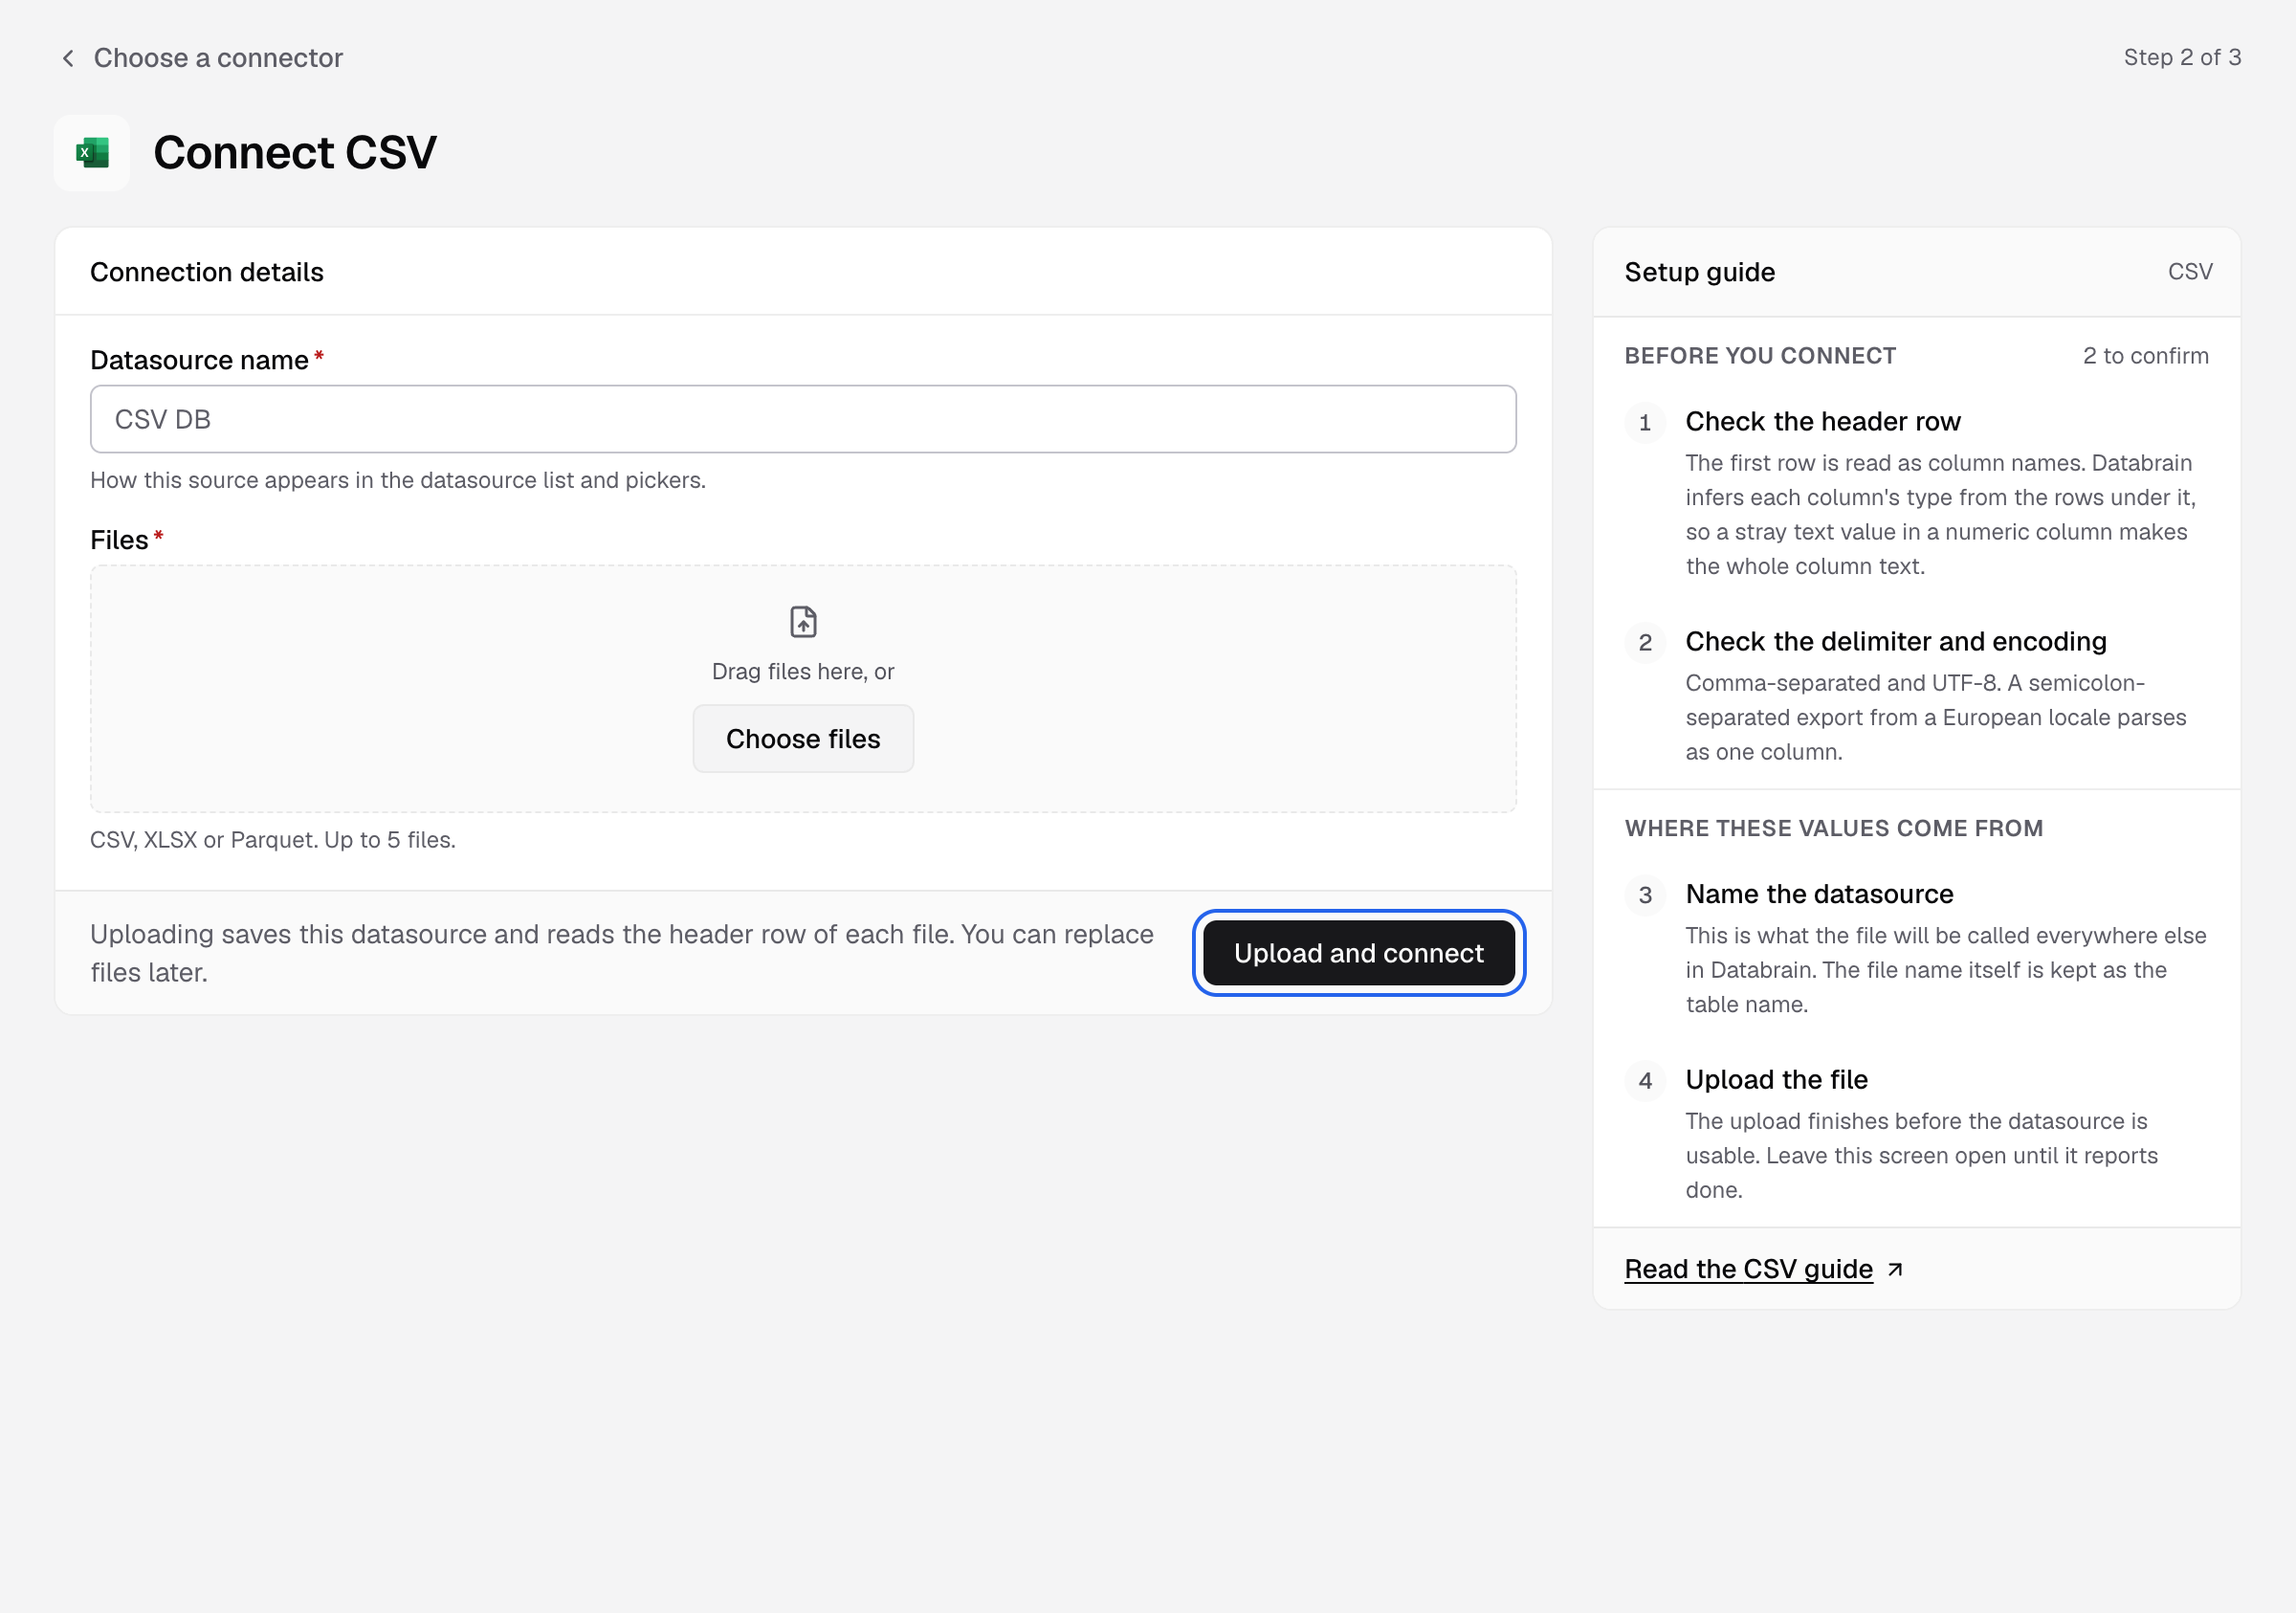
Databrain checks the connection and reads your schema. You see Step 3 of 3 with Model your data. Next, create a datamart.
Where to find the values
- Databrain guesses each column type from its rows. One text value in a number column makes the whole column text.
- Keep the page open until the upload reports that it is done.
If something goes wrong
If the check fails, the datasource stays on the form with Needs credentials. Fix the field the message names and select Upload and connect again.
- Max 5 files allowed. Upload 5 files or fewer. Create a second CSV datasource for more.