

Single sign-on
Add a SAML identity provider
Connect Okta, Microsoft Entra ID or any SAML 2.0 provider to Databrain.
Before you start
- Your company is on the Enterprise plan.
- Enable SSO is on. See Set up single sign-on.
- You can create a SAML app in your identity provider.
Steps
-
Go to Settings > Security, select the SSO tab, then select Add identity provider.

Add identity provider appears once Enable SSO is on. -
Set Provider type to SAML.
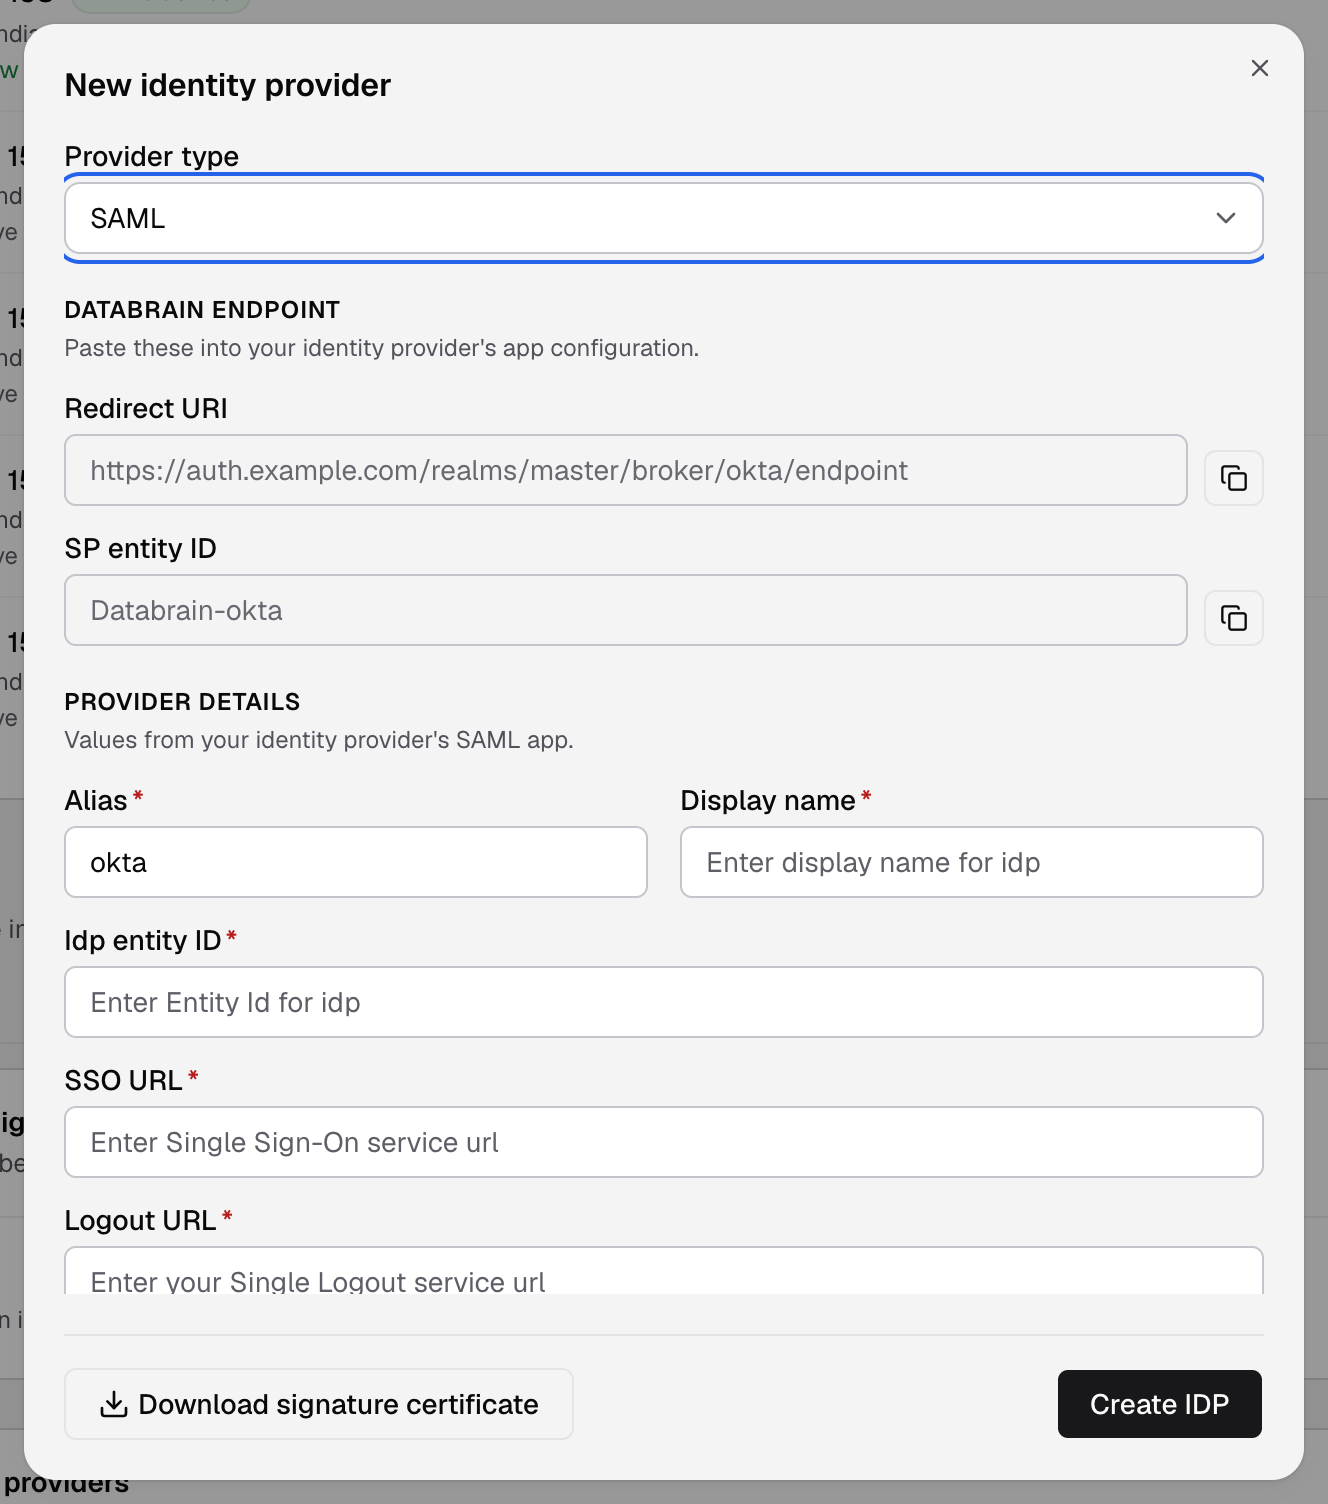
Choose SAML or OIDC first. The form changes with it. -
Enter an Alias, for example
okta. You cannot change it later. -
Copy the two values under Databrain endpoint into your identity provider’s SAML app:
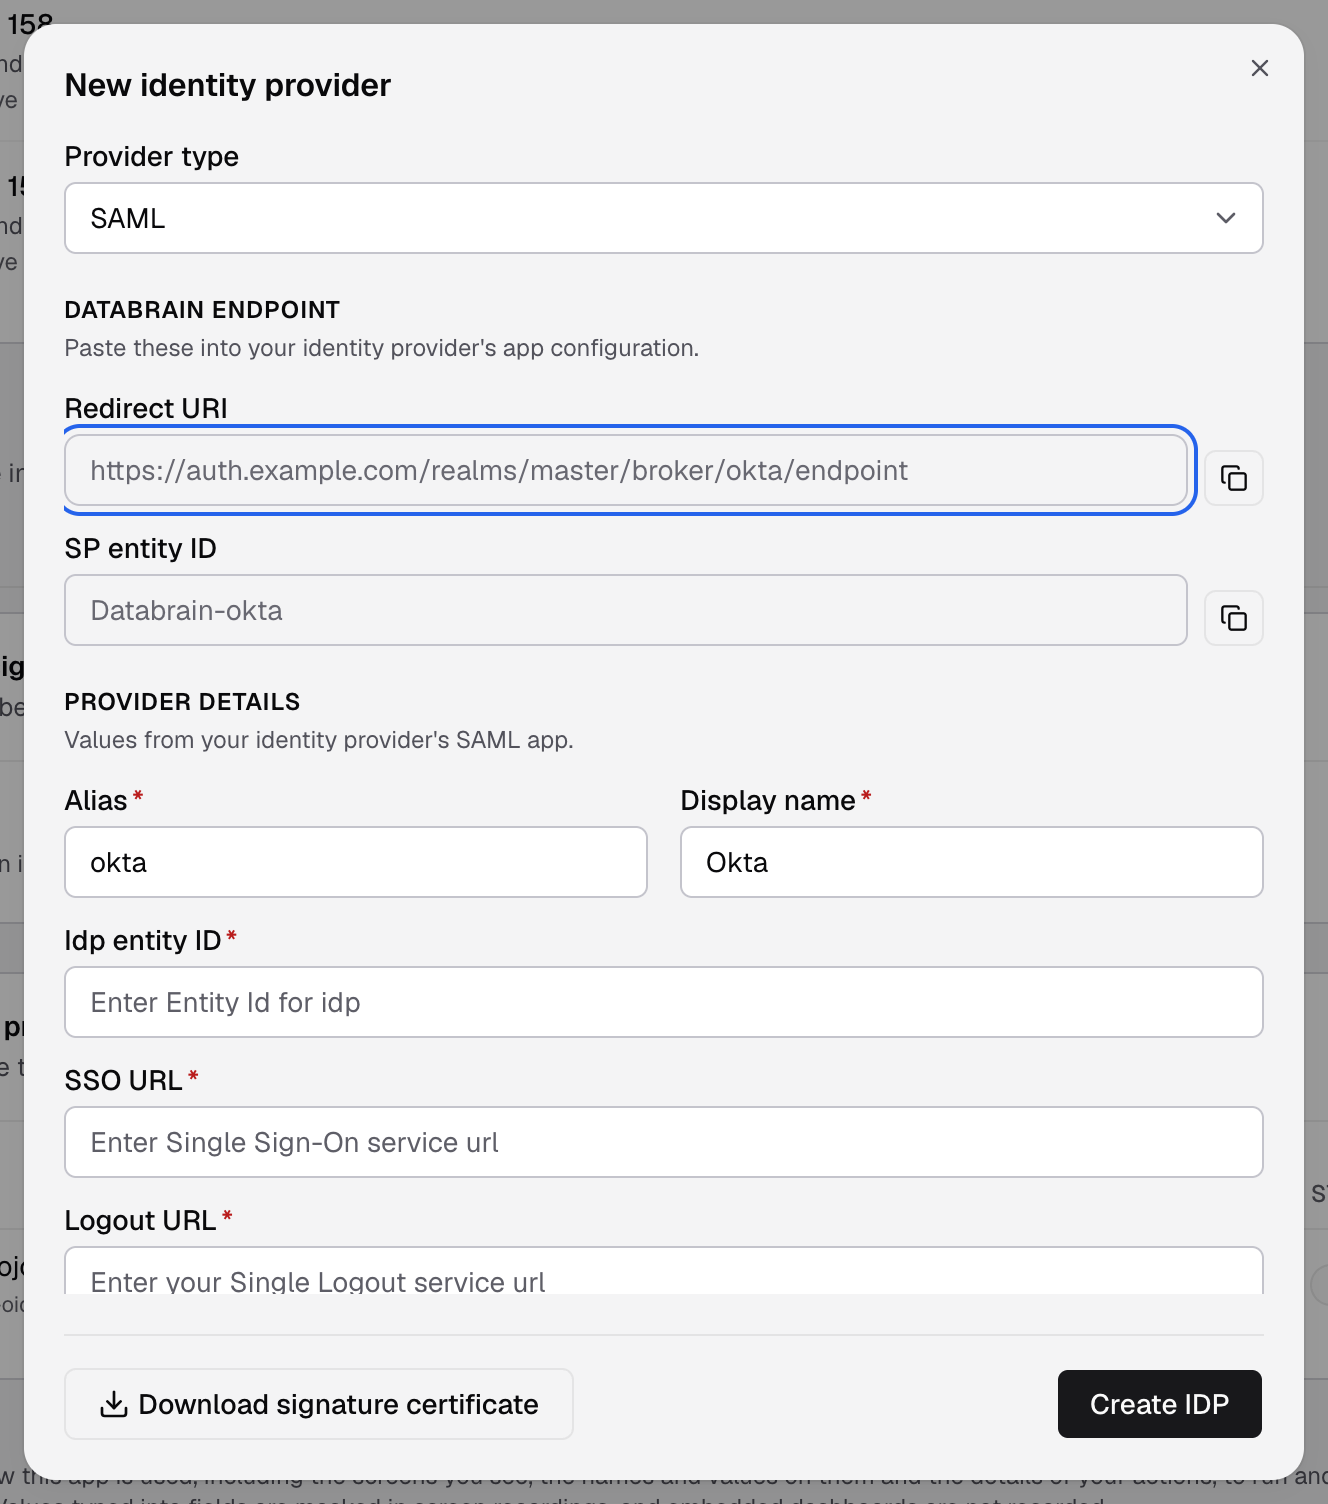
Copy the Redirect URI and SP entity ID into your identity provider. - Redirect URI: the single sign-on (ACS) URL.
- SP entity ID: the audience,
Databrain-<alias>.
-
In your identity provider, set the NameID format to email address, and assign the users who may sign in.
-
Back in Databrain, fill in Provider details from your identity provider’s SAML app:
- Display name: the name your team sees.
- Idp entity ID: the issuer.
- SSO URL: the sign-in URL.
- Logout URL: the sign-out URL.
-
Select Download signature certificate and upload it to your identity provider if it asks for a signing certificate.
-
Select Create IDP.
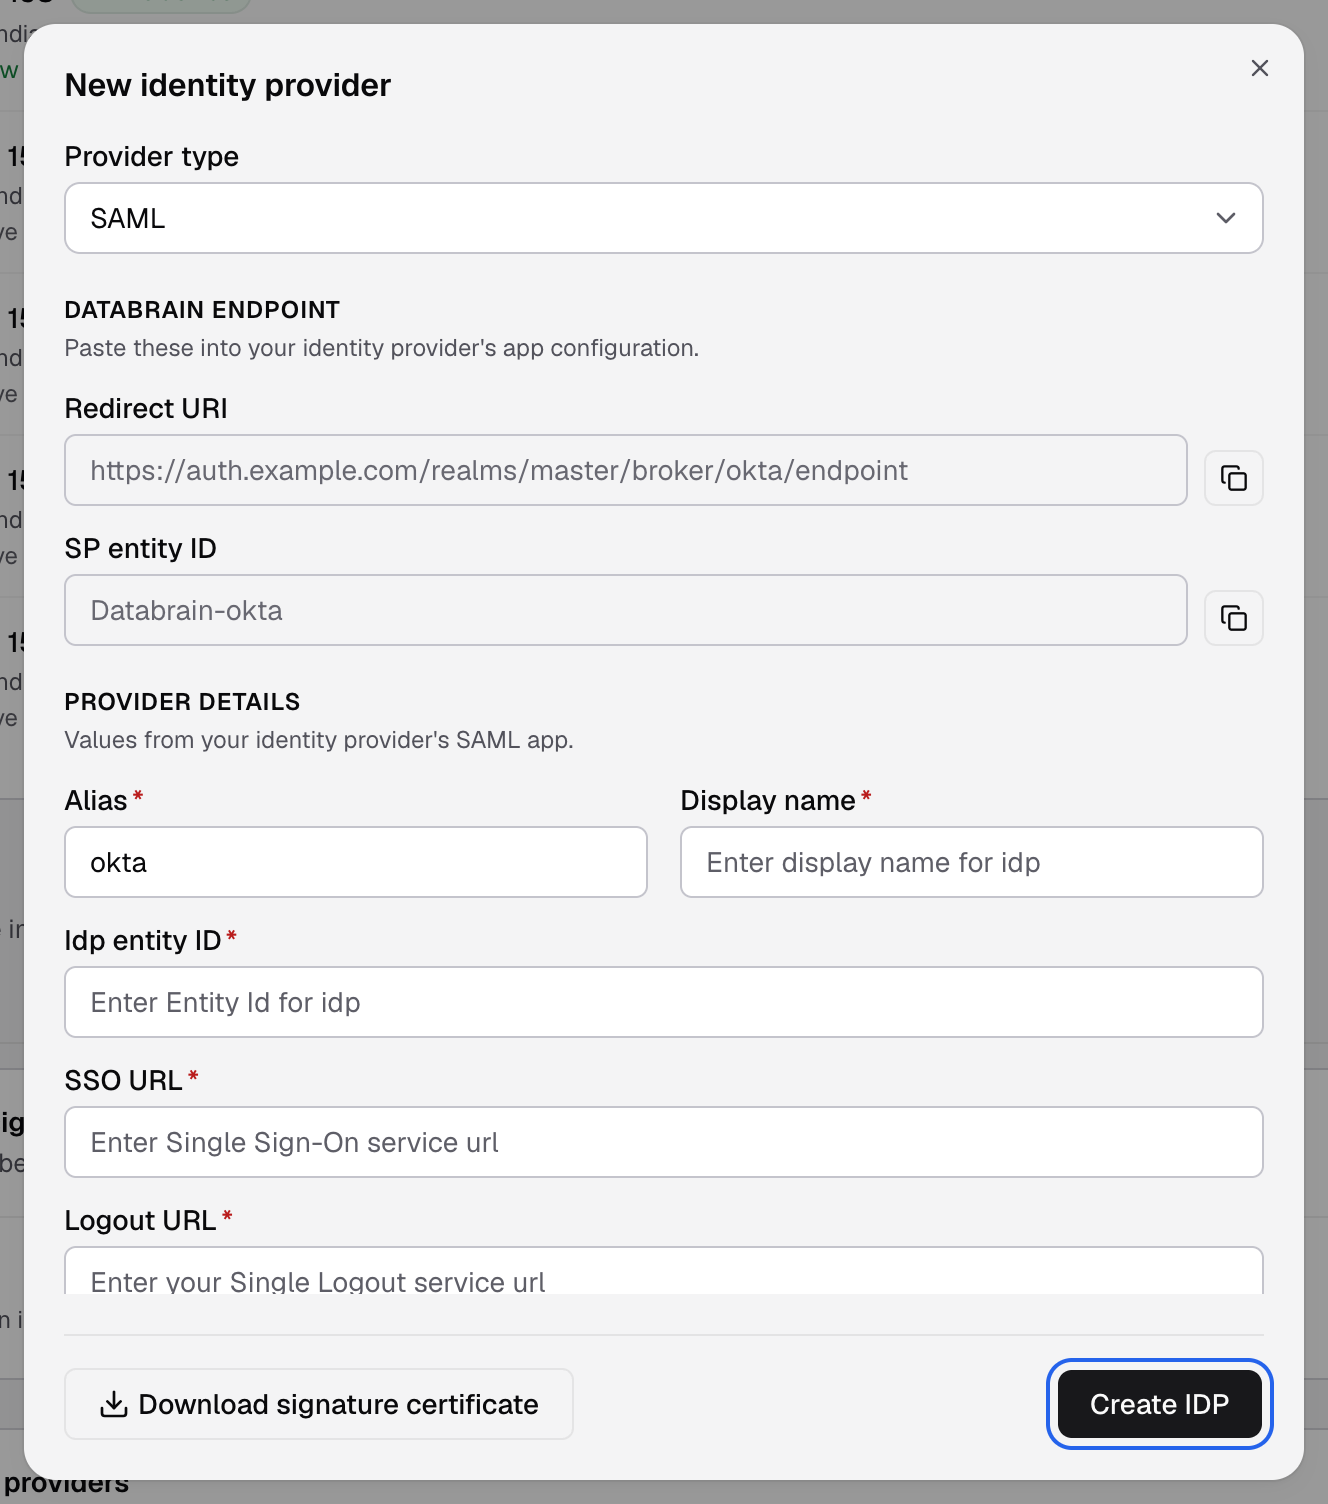
Create IDP saves the provider. Activate it from the table. -
In the providers table, select Activate.
The provider shows Active. Test it with one user: sign out, then use Continue with SSO.
Databrain matches the user by the email in the SAML response. The email must match an existing Databrain user.
In the providers table, Metadata has a Copy button and Signature certificate has a Download button for later use.
If something goes wrong
- The SAML option refuses to save. SAML needs the Enterprise plan.
- Please use the invited email id. The email in the SAML response is not the one the user entered. Check the NameID mapping.